Mini Grilled Cheese Sandwiches

Mini Grilled Cheese Sandwiches turn a familiar comfort food into an easy, shareable appetizer. Each sandwich has crisp, buttery bread wrapped around a warm, gooey cheese center, but the smaller size makes them much easier to serve at parties, family gatherings, or after-school snack time.
I prefer making these as full grilled cheese sandwiches first and cutting them after cooking. This gives the bread enough time to become evenly golden while keeping the cheese tucked inside instead of spilling across the pan.
They are simple enough for a quick lunch but look much more intentional when arranged on a platter with tomato soup, marinara sauce, or creamy ranch for dipping. You can also prepare the sandwiches ahead and reheat them shortly before serving.
What This Recipe Tastes Like
These mini sandwiches have a crisp, buttery exterior with a soft and creamy center. Sharp cheddar provides a rich, slightly tangy flavor, while mozzarella adds the smooth melt and cheese pull people expect from a good grilled cheese.
The bread becomes golden and lightly crunchy without turning hard. Because the sandwiches are cut into small pieces, every bite has a balanced amount of toasted bread and melted cheese.
They taste best warm, but they remain enjoyable at room temperature for a short period, making them practical for casual gatherings and buffet-style serving.
Why You’ll Love This Recipe
- Uses simple, easy-to-find ingredients
- Ready in approximately 25 minutes
- Crispy outside with a gooey cheese center
- Easy to serve without plates or utensils
- Suitable for parties, snacks, and quick lunches
- Customizable with different cheeses and breads
- Can be cooked ahead and reheated
- Familiar enough for children and adults
- Pairs well with several dipping sauces
- Easy to scale for a larger crowd
Step-by-Step Cooking Instructions
1. Choose and Prepare the Bread
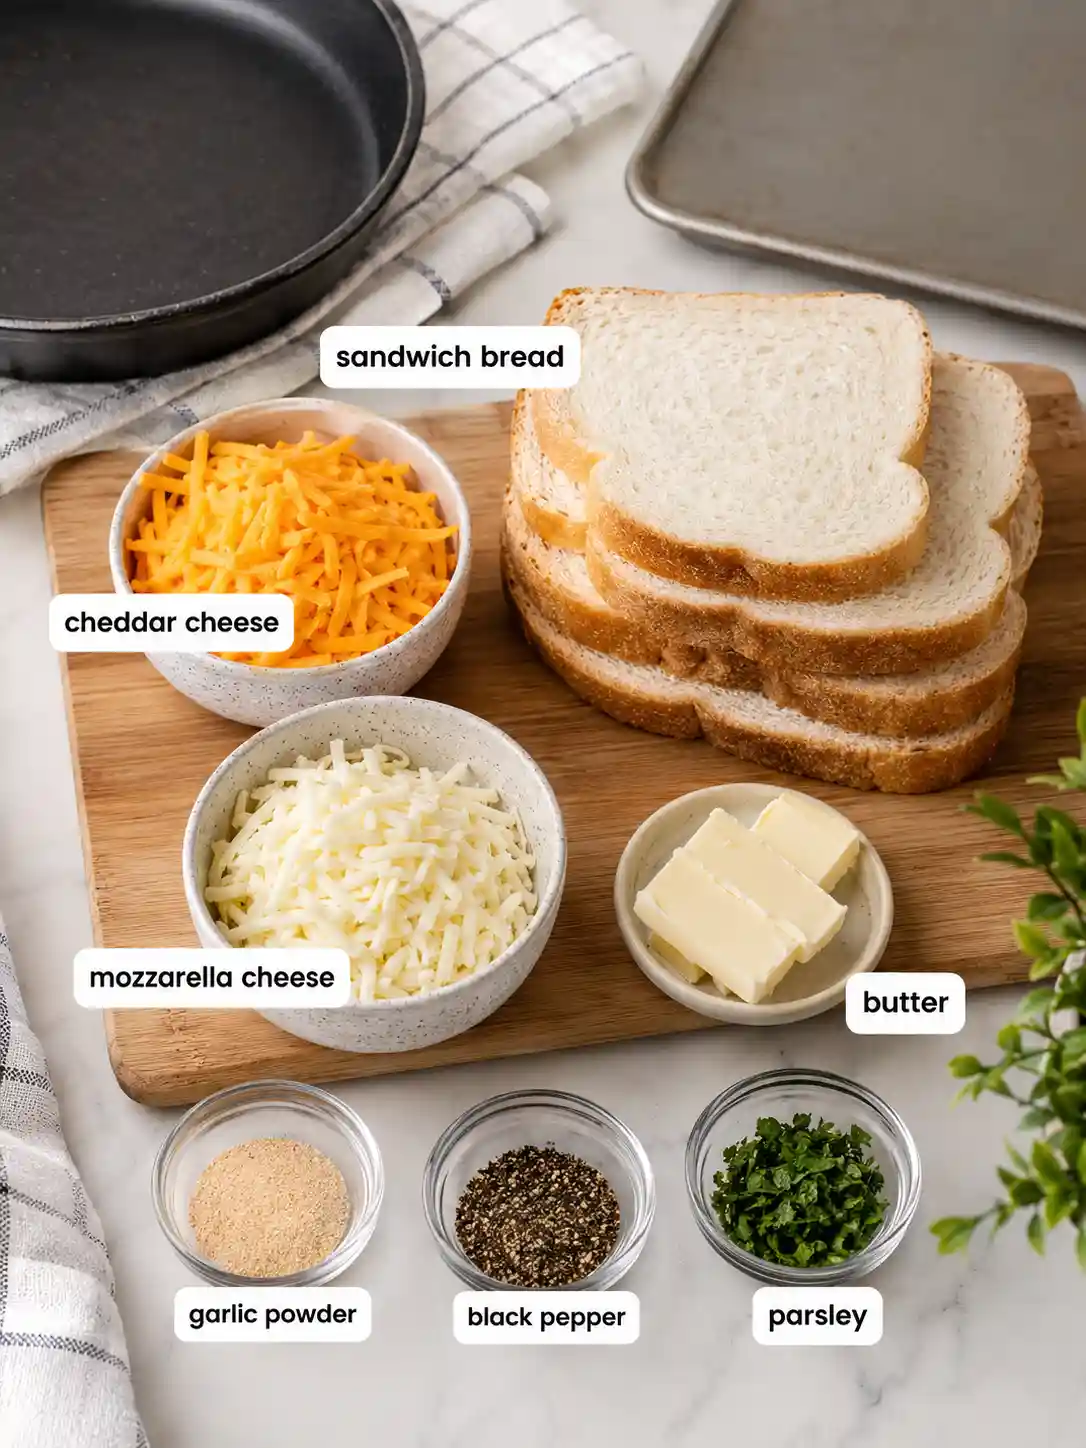
Place the bread slices on a clean work surface. Soft sandwich bread works especially well because it browns evenly and is easy to cut into neat, bite-sized pieces.
If the bread slices are very large, trim the crusts for a cleaner party-style appearance. Keeping the crusts is perfectly fine for casual snacks and adds a little extra texture.
2. Add the Cheese
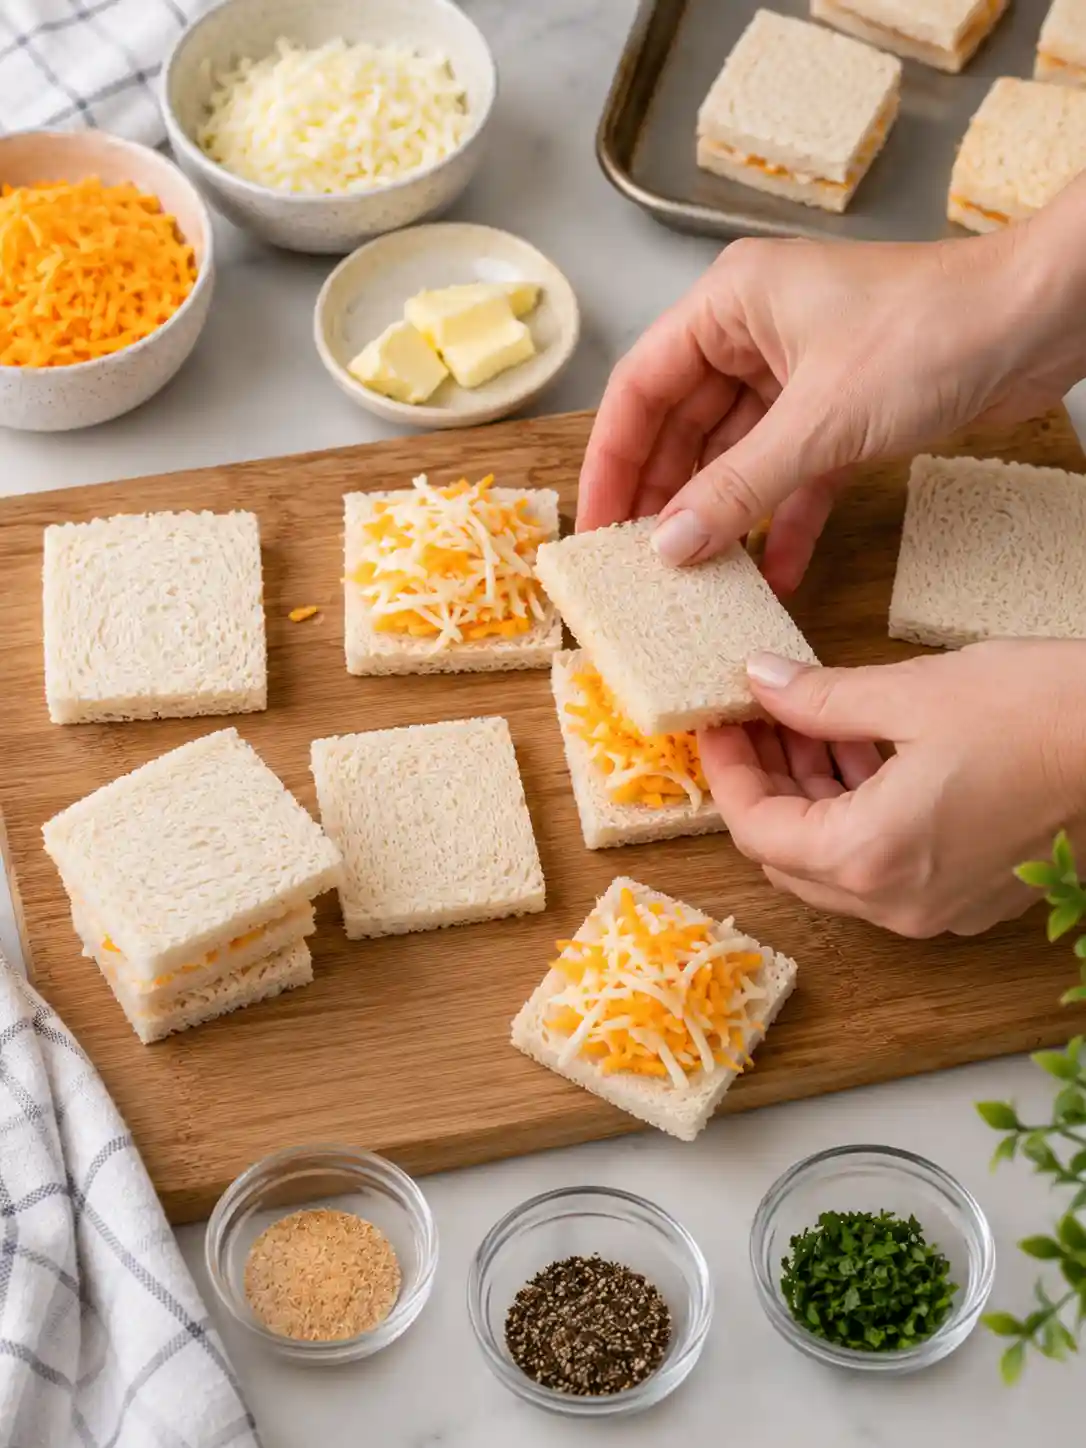
Place a layer of cheddar and mozzarella over half of the bread slices. Keep the cheese slightly away from the edges so it does not melt directly into the pan.
Use enough cheese to cover the bread evenly, but avoid piling it too high. An overfilled sandwich may brown before the center has completely melted.
Place the remaining bread slices on top and press gently.
3. Butter the Outside
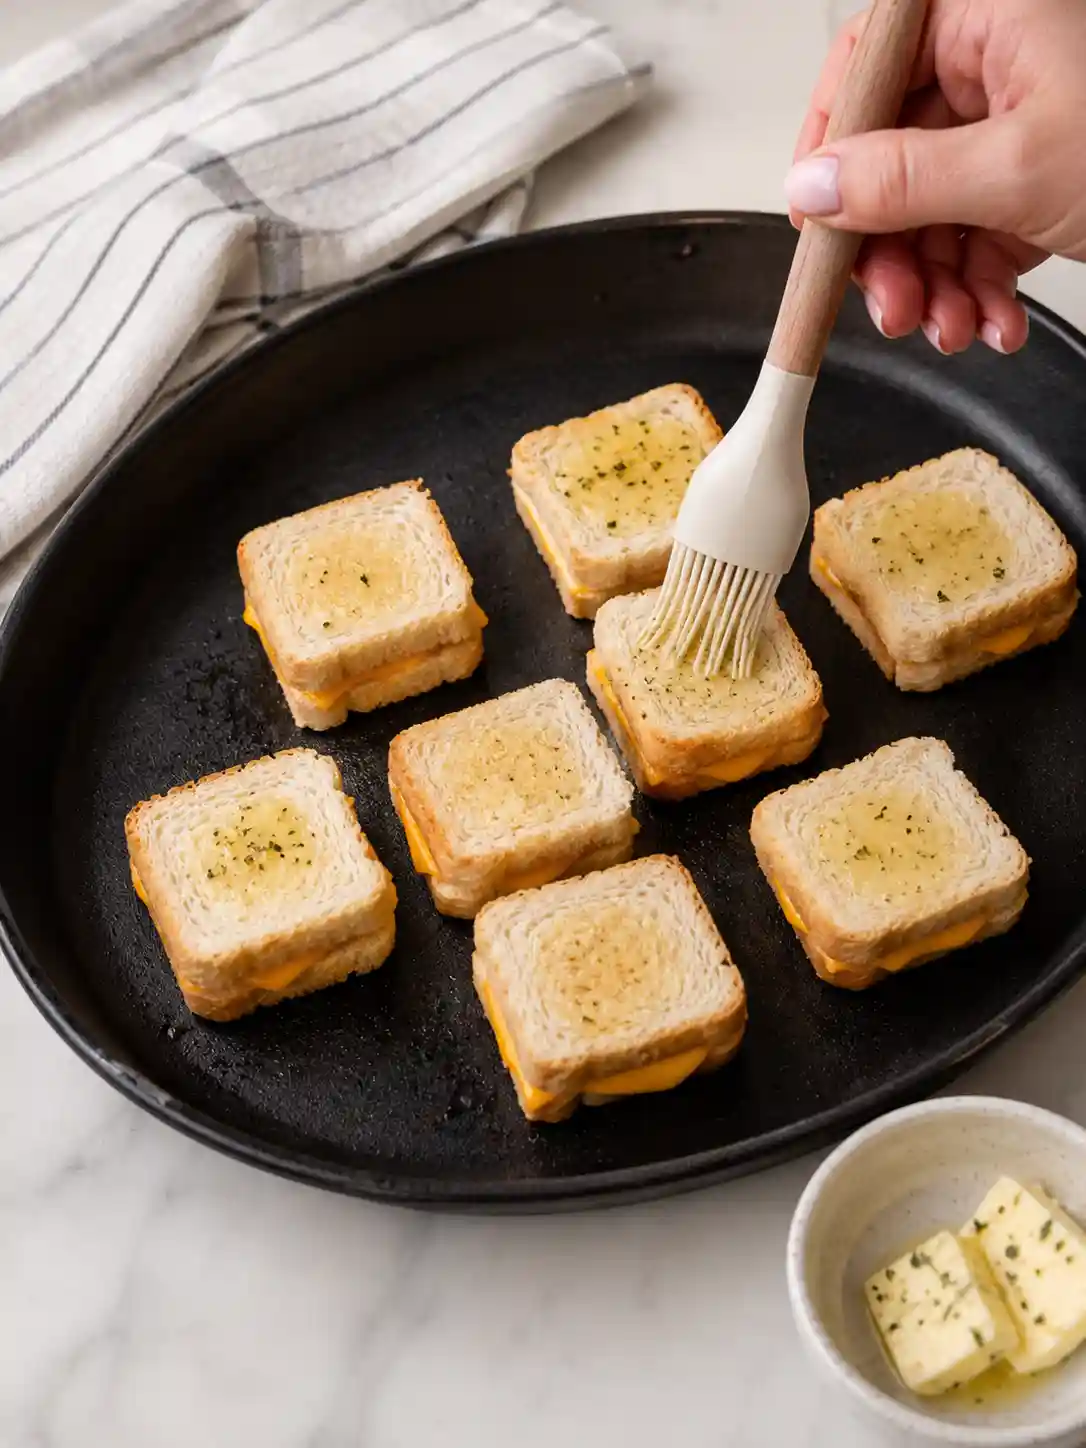
Spread a thin, even layer of softened butter over the outside of each sandwich. Make sure the butter reaches the corners because dry areas can toast unevenly.
You can also use mayonnaise on the outside for reliable browning, but butter gives the sandwiches a more traditional flavor.
4. Heat the Pan Gradually
Place a large skillet or griddle over medium-low heat. Allow it to warm before adding the sandwiches, but do not let it become smoking hot.
Grilled cheese cooks best with moderate heat. High heat can burn the bread while leaving the cheese firm in the middle.
5. Cook the First Side
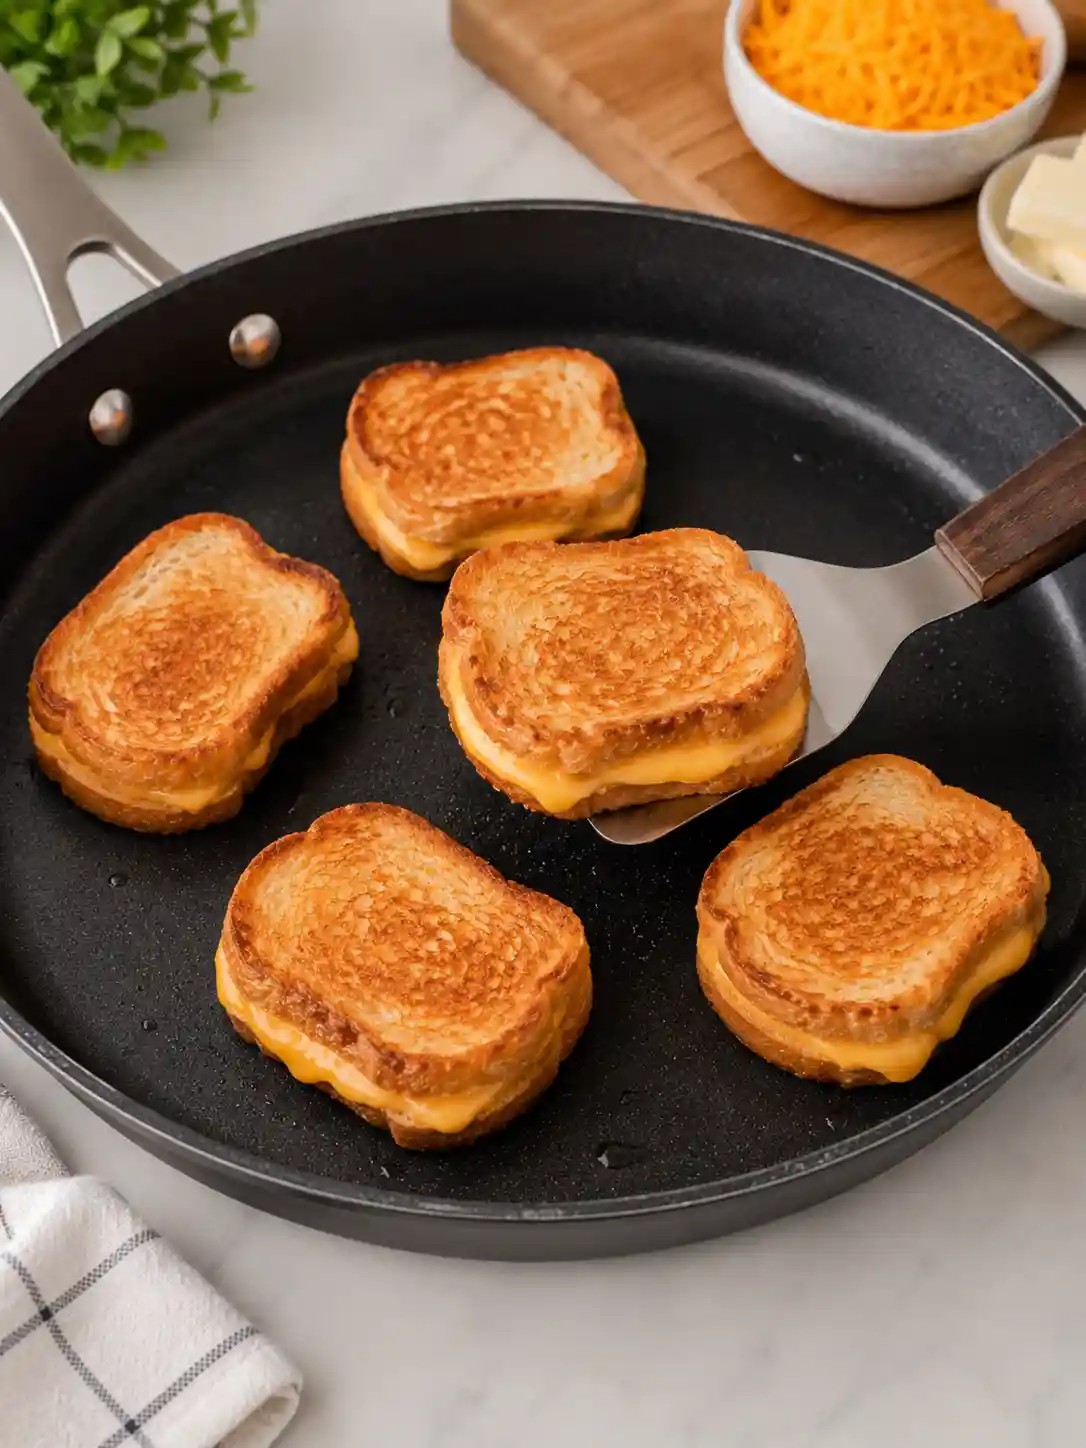
Place the sandwiches in the skillet with one buttered side facing down. Leave a little space between them so you can turn each sandwich easily.
Cook for approximately three to four minutes. Press very lightly with a spatula to help the bread make even contact with the pan, but avoid flattening the sandwiches.
The first side should be evenly golden before you turn it.
6. Flip and Finish Cooking
Turn each sandwich carefully and cook the second side for another three to four minutes.
If the bread is browned but the cheese has not fully melted, lower the heat and cover the pan for 30 to 60 seconds. The trapped warmth will help soften the cheese without overcooking the bread.

7. Rest Before Cutting
Transfer the grilled cheese sandwiches to a cutting board and let them rest for two minutes.
This short resting time allows the cheese to settle slightly, so it stays inside the sandwiches when they are sliced.
8. Cut into Mini Sandwiches
Use a sharp serrated knife to cut each sandwich into four equal squares or triangles.
Wipe the knife between cuts if melted cheese begins sticking to the blade. This keeps the edges neat and prevents the sandwiches from tearing.
9. Arrange and Serve
Place the mini sandwiches on a platter while they are still warm. For a party, add small food picks to keep the pieces tidy and easy to grab.
Serve them with warm tomato soup, marinara sauce, ranch dressing, honey mustard, or another thick dipping sauce.
Pro Tips for Best Results
Use Medium-Low Heat
This is the most important technique for grilled cheese. Lower heat gives the cheese time to melt before the bread becomes too dark.
Soften the Butter First
Cold butter can tear soft bread and create uneven patches. Softened butter spreads more smoothly from edge to edge.
Grate Cheese from a Block
Freshly grated cheese melts more evenly than many pre-shredded varieties, which can contain coatings that reduce smooth melting.
Combine Two Cheeses
Cheddar gives the sandwiches flavor, while mozzarella provides a softer, stretchier texture. Combining them creates a better result than using only mild mozzarella.
Avoid Overfilling
Too much cheese makes the sandwiches difficult to turn and can cause the filling to escape. A thin, even layer melts more reliably.
Rest Before Slicing
Cutting immediately can push the hot cheese out. Letting each sandwich sit for two minutes produces cleaner mini portions.
Keep Cooked Sandwiches Warm
If you are preparing several batches, place finished sandwiches on a wire rack set over a baking sheet in a 200°F oven.
The rack helps the bottoms stay crisp instead of trapping steam.
Variations & Substitutions
Three-Cheese Mini Sandwiches
Combine cheddar, mozzarella, and Monterey Jack for a richer, creamier filling.
Tomato Grilled Cheese
Add very thin tomato slices, but pat them dry first. Excess moisture can make the bread soggy.
Garlic Butter Grilled Cheese
Mix a small amount of garlic powder and dried parsley into the softened butter before spreading it over the bread.
Pizza-Style Grilled Cheese
Use mozzarella and add a thin layer of thick pizza sauce. Avoid using too much sauce because it can soften the bread.
Chicken and Cheese Sandwiches
Add a thin layer of finely chopped cooked chicken for a more filling appetizer. Keep the pieces small so the sandwiches remain easy to cut.
Whole-Wheat Bread Option
Use soft whole-wheat sandwich bread for a slightly nuttier flavor. Dense artisan bread can also work, but it may take longer for the cheese to melt.
Gluten-Free Version
Replace the regular sandwich bread with a soft gluten-free bread. Cook gently because some gluten-free breads brown faster than standard white bread.
Sheet-Pan Method
Arrange assembled sandwiches on a parchment-lined baking sheet. Place another baking sheet on top to press them lightly.
Bake at 425°F for approximately five minutes, flip, and continue baking until the bread is golden and the cheese has melted. This method is useful when cooking for a larger group.
Storage, Freezing & Reheating Tips
Refrigerating Leftovers
Let the sandwiches cool completely before placing them in an airtight container.
Refrigerate for up to three days. Place parchment paper between layers to prevent the pieces from sticking together.
Freezing
Arrange the cooled mini sandwiches in a single layer on a baking sheet and freeze until firm.
Transfer them to a freezer-safe bag or container and freeze for up to one month. The bread may be slightly softer after thawing, but reheating in the oven or air fryer improves the texture.
Reheating in the Oven
Arrange the sandwiches on a baking sheet and reheat at 350°F for approximately eight to ten minutes.
Turn them once halfway through so both sides become crisp.
Reheating in the Air Fryer
Air fry at 325°F for three to five minutes. Keep them in a single layer and check early to prevent excessive browning.
Reheating in a Skillet
Place the sandwiches in a dry skillet over low heat. Cover and warm for two to three minutes per side.
This method restores the toasted exterior while gently remelting the cheese.
Reheating in the Microwave
Microwave individual pieces for approximately 15 to 20 seconds. This is convenient, but the bread will become soft rather than crisp.
Frequently Asked Questions
How do you keep mini grilled cheese sandwiches warm for a party?
Arrange the cooked sandwiches on a wire rack set over a baking sheet and keep them in a 200°F oven. The low temperature keeps the cheese warm without quickly burning the bread, while the wire rack prevents moisture from making the bottoms soggy.
What is the best cheese for mini grilled cheese sandwiches?
Sharp cheddar provides the strongest classic flavor, while mozzarella, Monterey Jack, or Colby Jack improve meltiness. A combination of cheddar and mozzarella creates a flavorful filling that melts smoothly without becoming overly oily.
Can mini grilled cheese sandwiches be made ahead of time?
Yes. Cook and cool the sandwiches, then refrigerate them in an airtight container. Reheat them in the oven or air fryer shortly before serving. They can also be assembled several hours ahead, covered, refrigerated, and cooked when needed.
How do you prevent grilled cheese from becoming soggy?
Cook the sandwiches over moderate heat until both sides are properly golden, and avoid using wet fillings. Place finished sandwiches on a wire rack rather than a flat plate, where trapped steam can soften the bottom.
Can I make mini grilled cheese sandwiches in the oven?
Yes. Baking is especially helpful when making a large batch. Arrange the sandwiches on a lined baking sheet, place another sheet pan over them, and bake at 425°F. Turn them halfway through and continue baking until golden and melted.
What to Make Next
Mini Grilled Cheese Sandwiches
Ingredients
Method
- Place six bread slices on a clean work surface.
- Divide the shredded cheddar and mozzarella evenly over the bread, keeping the cheese slightly away from the edges.
- Top with the remaining bread slices and press gently.
- Mix the softened butter with the garlic powder, if using.
- Spread a thin layer of butter over the top of each sandwich.
- Heat a large skillet or griddle over medium-low heat.
- Place the sandwiches in the skillet with the buttered side facing down.
- Spread butter over the second side while the first side cooks.
- Cook for three to four minutes, or until the bottoms are evenly golden.
- Turn the sandwiches and cook for another three to four minutes, or until the second side is golden and the cheese has melted.
- Transfer the sandwiches to a cutting board and rest for two minutes.
- Cut each sandwich into four equal squares or triangles.
- Serve warm with tomato soup or marinara sauce.
Notes
- Use medium-low heat so the cheese melts before the bread burns.
- Softened butter spreads more evenly than cold butter.
- Freshly shredded cheese gives the smoothest melt.
- Avoid overfilling the sandwiches.
- Let the sandwiches rest briefly before slicing.
- Keep large batches warm on a wire rack in a 200°F oven.
- Thick dipping sauces work better than watery sauces.
Nutrition Per Serving
Serving size: Four mini sandwiches- Calories: 295
- Protein: 12 g
- Fat: 18 g
- Carbohydrates: 23 g