Crispy Chicken Tenders

These homemade chicken tenders have a crisp, well-seasoned coating with tender, juicy chicken inside. They give you the crunch of restaurant-style tenders without needing to stand over a pan of hot oil.
This oven-baked version is especially useful for busy weeknights. The chicken cooks quickly, the breading uses everyday ingredients, and everything can be prepared on one baking sheet. You can also cook the tenders in an air fryer when you want an even faster option.
I prefer using chicken tenderloins because they cook evenly and require almost no cutting. The key is pressing the crumbs firmly onto the chicken and baking the tenders on a preheated tray so the bottom starts crisping as soon as it touches the pan.
What These Chicken Tenders Taste Like
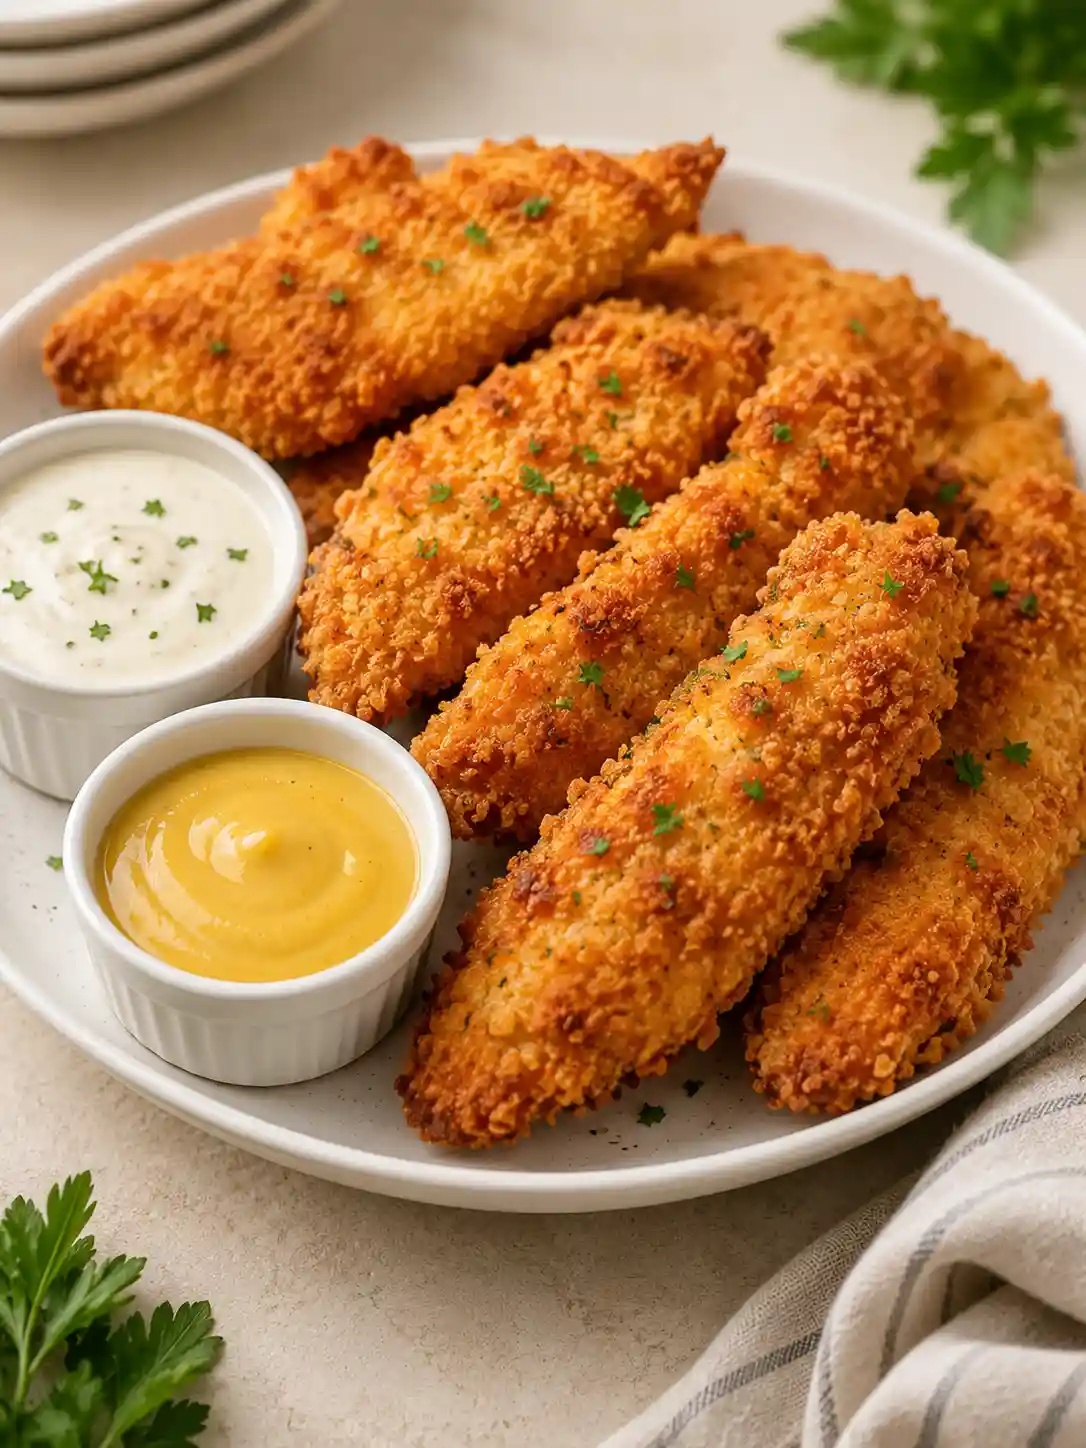
The coating is savory, lightly smoky, and crisp around the edges. Parmesan adds a subtle salty flavor, while paprika, garlic powder, and onion powder make the breading taste seasoned rather than plain.
Inside, the chicken stays moist and tender. The contrast between the crunchy coating and juicy center is what makes these tenders feel more satisfying than basic baked chicken strips.
They are flavorful enough to eat on their own but mild enough to pair with barbecue sauce, honey mustard, ranch, buffalo sauce, or ketchup.
Why You’ll Love This Recipe
- Ready in about 30 minutes
- Baked instead of deep-fried
- Crisp outside and juicy inside
- Uses simple pantry seasonings
- Easy enough for beginner cooks
- Family-friendly and freezer-friendly
- Works with chicken tenderloins or sliced chicken breasts
- Can be cooked in the oven or air fryer
- Easy to reheat for quick lunches
- Pairs with almost any dipping sauce
Best Occasions to Serve Chicken Tenders
Chicken tenders are an easy choice when you need a familiar meal that can be served in several different ways.
They work especially well for:
- Busy weeknight dinners
- Family lunches
- Game-day snacks
- Birthday parties
- Casual gatherings
- School lunchboxes
- Meal-prep lunches
- Chicken wraps
- Salad toppings
- Weekend movie nights
For dinner, serve them with roasted potatoes, French fries, coleslaw, macaroni and cheese, corn, steamed vegetables, or a simple green salad.
Step-by-Step Cooking Instructions
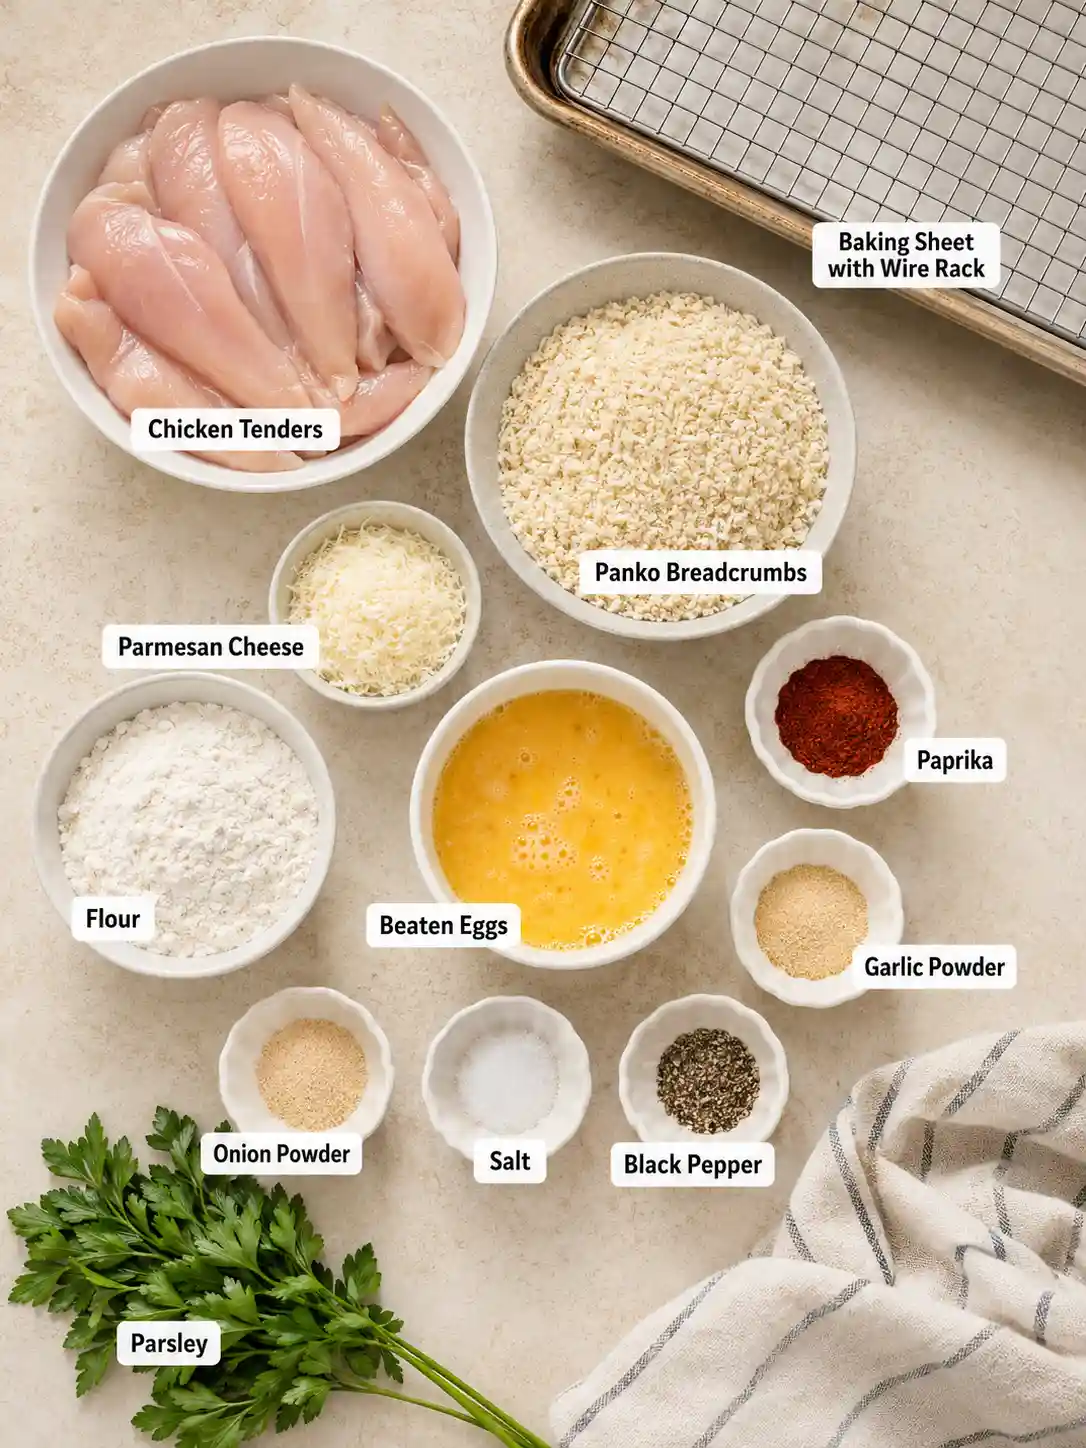
1. Preheat the Oven and Baking Sheet
Place a large rimmed baking sheet in the oven and preheat the oven to 425°F.
Heating the tray before adding the chicken helps the bottom of the breading begin cooking immediately. This produces a crisper result than placing the tenders on a cold pan.
Once the oven is hot, carefully remove the tray and place a wire rack on top when using one. Lightly grease the rack or baking sheet with cooking spray.
A wire rack allows hot air to circulate beneath the tenders, but you can still get good results directly on a greased baking sheet.
2. Dry the Chicken
Pat the chicken tenderloins dry with paper towels.
This small step matters because excess moisture prevents the flour and crumbs from sticking properly. Wet chicken can also make the coating soft as it bakes.
Remove the tough white tendon when it is especially large or noticeable. You do not need to remove every small piece.
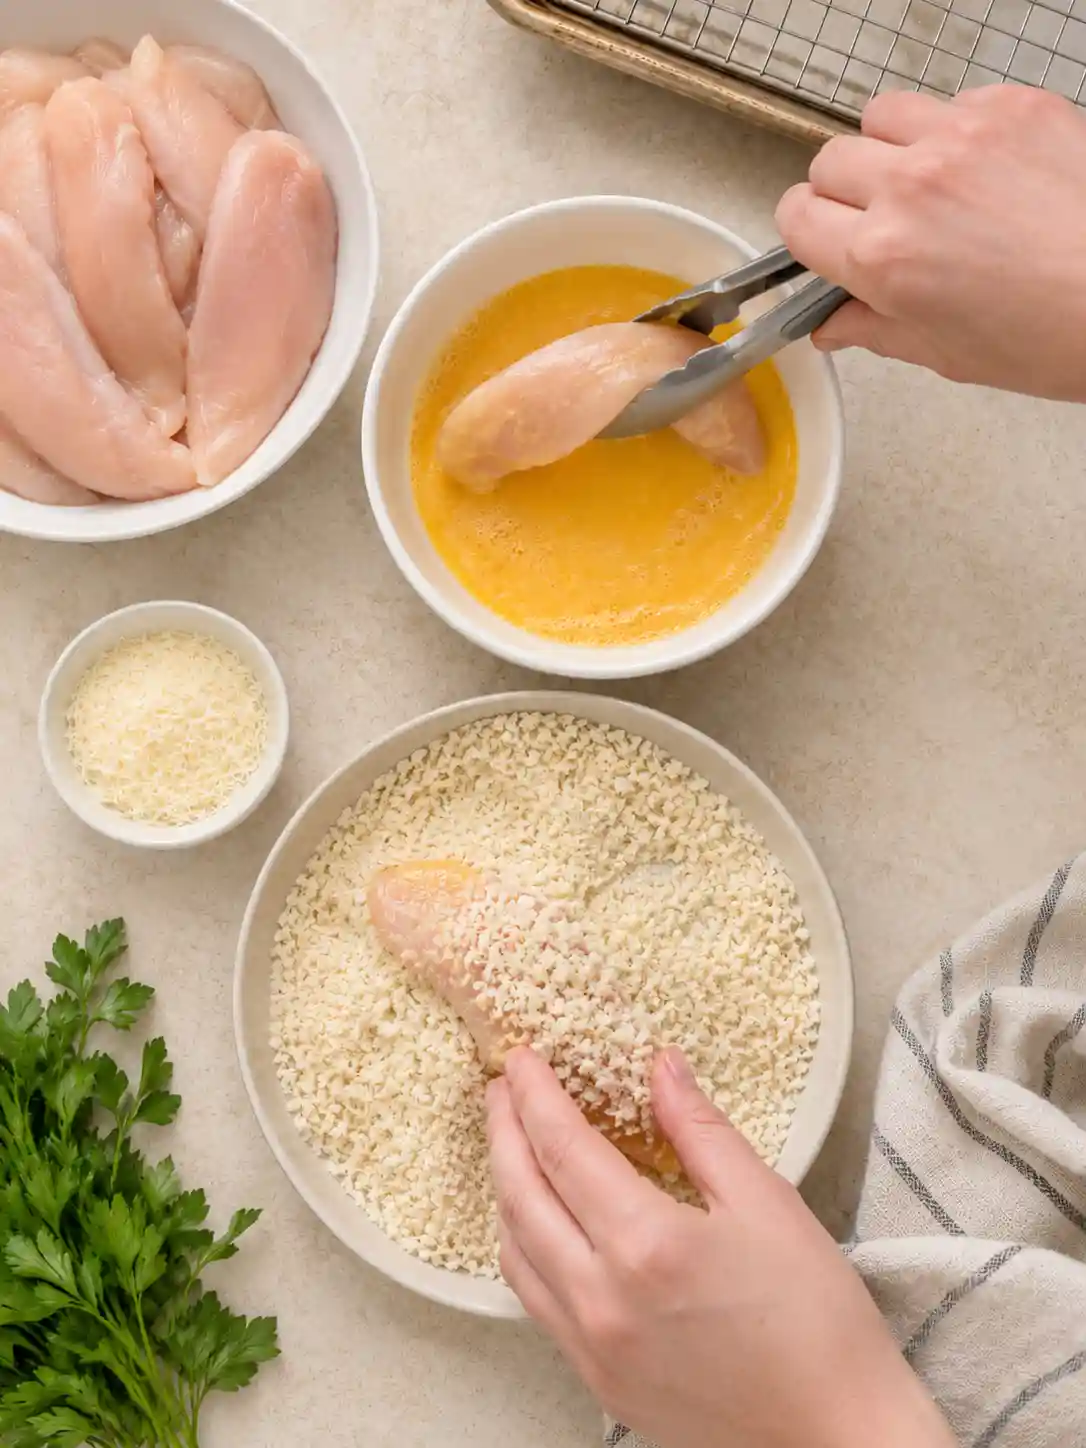
3. Prepare the Coating Stations
Use three shallow bowls or plates.
Place the seasoned flour mixture in the first bowl. Add the beaten eggs to the second bowl. Combine the panko breadcrumbs, Parmesan, and remaining seasonings in the third bowl.
Keep the bowls close together so you can move each piece of chicken through the coating without creating too much mess.
4. Coat the Chicken
Work with one chicken tender at a time.
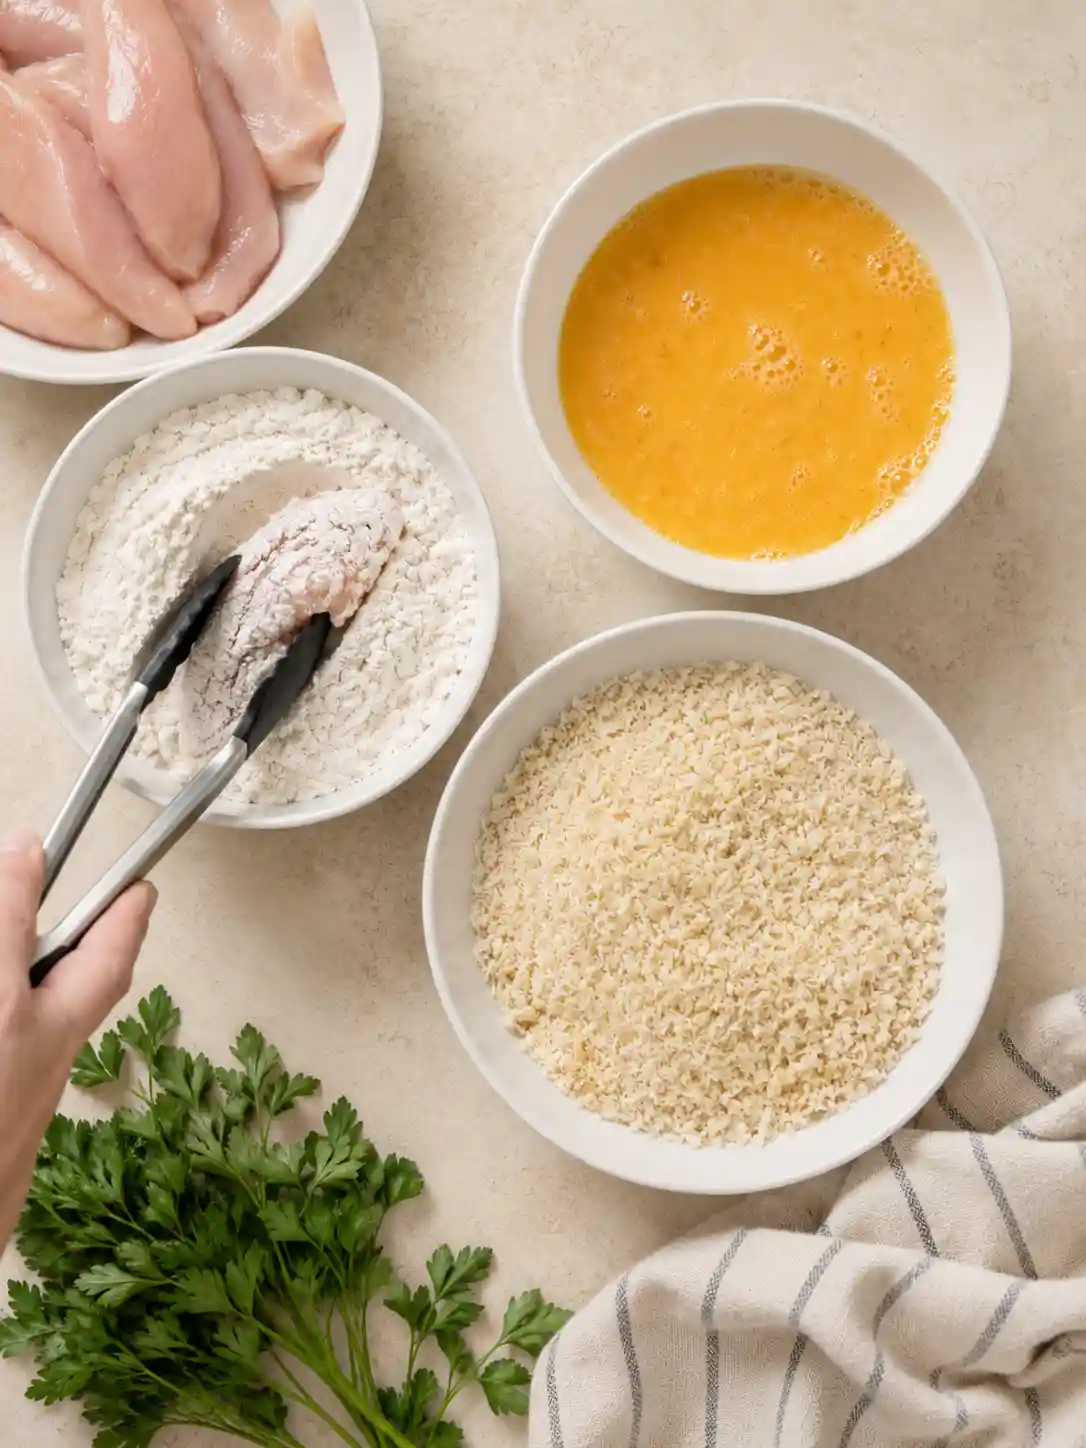
First, coat it lightly in the seasoned flour. Shake away the excess because a heavy layer of flour can become gummy.
Next, dip the chicken into the egg and allow the extra egg to drip back into the bowl.
Finally, place it in the breadcrumb mixture. Press the crumbs onto both sides with your fingers so the chicken is completely covered.
Set the coated tender on a clean plate and repeat with the remaining chicken.
Try to use one hand for the flour and breadcrumbs and the other hand for the egg. This keeps your fingers from becoming heavily coated.
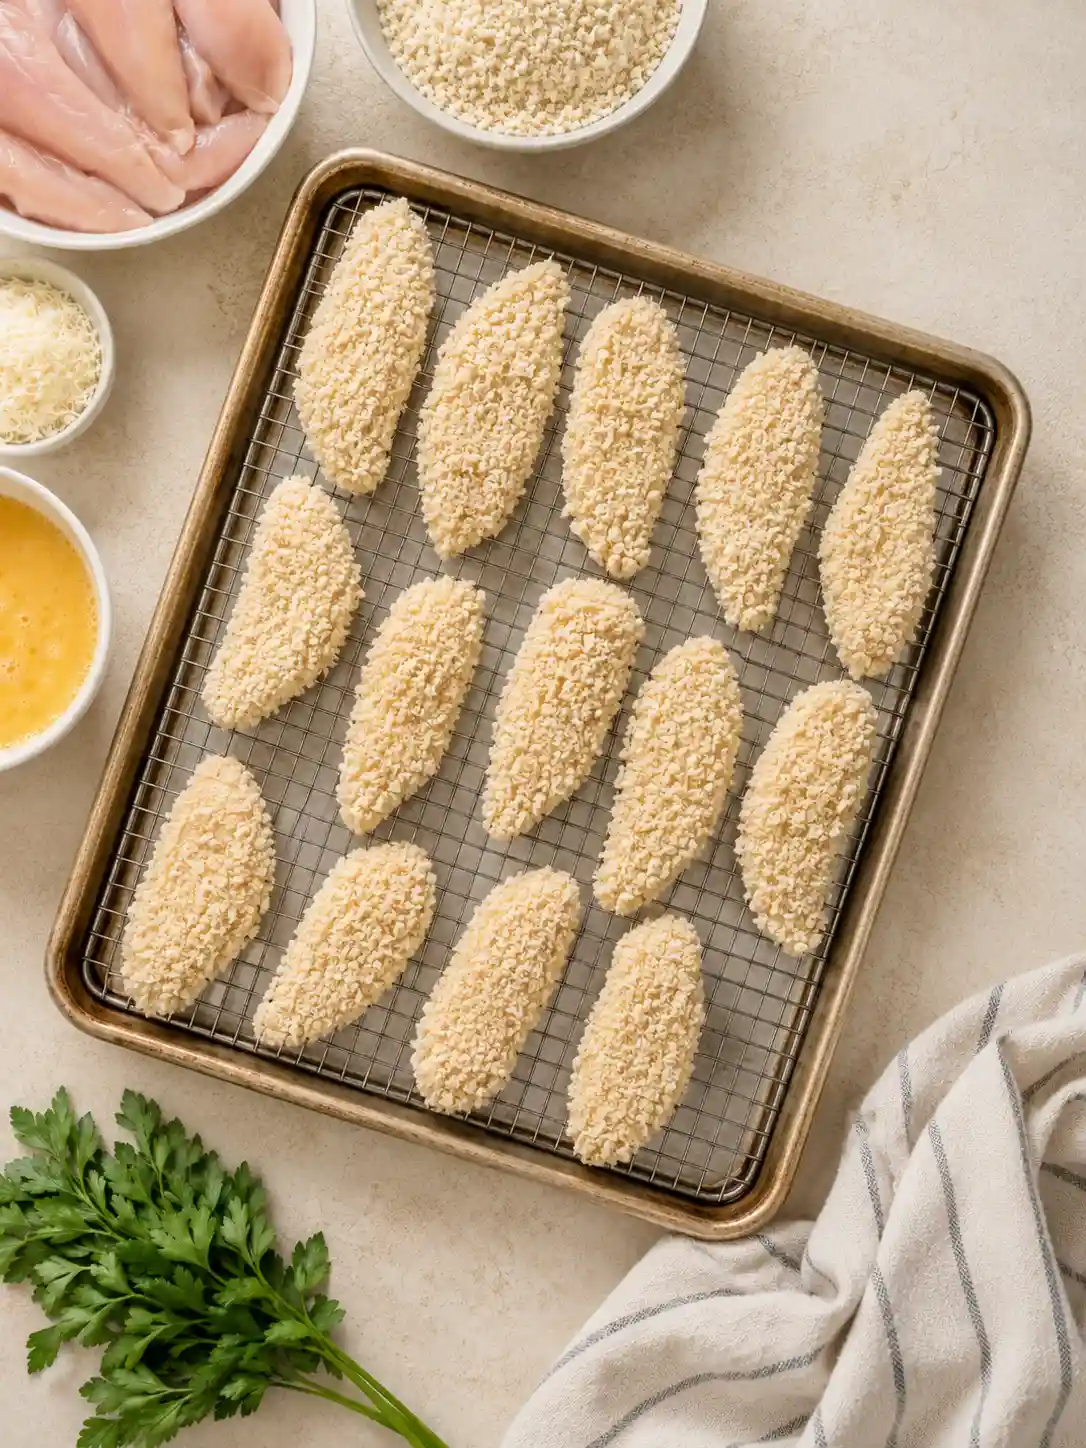
5. Arrange the Tenders on the Tray
Place the breaded chicken tenders in a single layer on the prepared baking sheet or wire rack.
Leave a small amount of space between each piece. When the tenders are packed tightly together, steam becomes trapped around them and softens the breading.
Lightly spray the tops with cooking spray or drizzle them with a small amount of oil. The oil helps the breadcrumbs turn golden and crisp.
6. Bake Until Golden
Bake the chicken tenders for approximately 15 to 18 minutes.
If they are cooking directly on a baking sheet, carefully turn them after about 9 minutes. Tenders cooked on a wire rack usually do not need to be flipped.
Cooking time will depend on the thickness of the chicken. Smaller tenders may finish sooner, while thick pieces may need an extra few minutes.
The chicken is ready when the coating is golden and the thickest part reaches an internal temperature of 165°F.
7. Let Them Rest Briefly
Allow the chicken tenders to rest for three to five minutes before serving.
The short resting time helps the juices settle inside the chicken and gives the breading a chance to firm up.
Do not cover the tenders while they rest. Covering traps steam and can soften the crispy coating.
Pro Tips for the Crispiest Chicken Tenders
Use Panko Breadcrumbs
Panko crumbs are larger and lighter than regular breadcrumbs. They create a crunchier coating and brown more evenly in the oven.
Regular breadcrumbs can be used, but the finished coating will be finer and less crisp.
Press the Coating Firmly
Do not simply roll the chicken through the crumbs. Press the breadcrumb mixture onto the chicken so it forms a secure coating.
This helps prevent bare patches and reduces the amount of breading that falls off during cooking.
Do Not Skip the Oil
Baked breading needs a small amount of oil to brown properly. A light coating of cooking spray is enough.
Without oil, the breadcrumbs may remain pale and dry even when the chicken is fully cooked.
Keep the Chicken Pieces Similar in Size
Chicken tenderloins usually cook evenly, but some pieces may be much thicker than others.
Gently flatten very thick pieces or slice large chicken breast strips to a similar width. This prevents smaller tenders from drying out while larger pieces finish cooking.
Avoid Overbaking
Chicken tenderloins are lean and can become dry when cooked too long.
Begin checking them around the 14-minute mark. Remove them once the center reaches 165°F.
Leave Space Between Each Tender
Crowding the tray creates steam. Use two baking sheets when necessary rather than squeezing all the chicken onto one pan.
Variations and Substitutions
Air Fryer Chicken Tenders
Preheat the air fryer to 400°F. Arrange the coated tenders in a single layer and lightly spray them with oil.
Cook for approximately 9 to 12 minutes, turning halfway through, until golden and cooked to 165°F.
Cook in batches so the basket is not overcrowded.
Spicy Chicken Tenders
Add cayenne pepper or chili powder to the breadcrumb mixture.
You can also toss the cooked tenders with buffalo sauce just before serving. Serve them with ranch or blue cheese dressing.
Gluten-Free Chicken Tenders
Use a gluten-free all-purpose flour and gluten-free panko breadcrumbs.
Check the seasoning labels as well, especially when using premixed spice blends.
Parmesan Herb Chicken Tenders
Increase the Parmesan and add dried Italian seasoning to the breadcrumbs.
These tenders pair especially well with marinara sauce or garlic yogurt dip.
Cornflake-Crusted Tenders
Replace the panko with finely crushed cornflakes.
Cornflakes create a thicker, extra-crunchy coating. Crush them into small flakes rather than a fine powder.
No-Egg Chicken Tenders
Replace the beaten eggs with a thin layer of mayonnaise, plain Greek yogurt, or buttermilk.
The chicken only needs enough to help the breadcrumb mixture stick.
Chicken Breast Strips
Chicken breasts can be used when tenderloins are unavailable.
Slice the breasts lengthwise into strips that are approximately one inch wide. Keep the pieces similar in thickness so they cook evenly.
Storage, Freezing and Reheating Tips
Refrigerating
Allow leftover chicken tenders to cool before placing them in an airtight container.
Refrigerate for up to three or four days. Place parchment paper between layers to help protect the breading.
Freezing Cooked Chicken Tenders
Arrange the cooled tenders on a tray and freeze until firm.
Transfer them to a freezer-safe container or bag and freeze for up to two months. Freezing them separately first prevents the pieces from sticking together.
Freezing Uncooked Breaded Tenders
Bread the chicken as directed and arrange the pieces on a parchment-lined tray.
Freeze until solid, then transfer them to a freezer-safe bag. Bake directly from frozen, adding approximately five to eight minutes to the cooking time.
Always check that the center reaches 165°F.
Reheating in the Oven
Place the tenders on a baking sheet and heat at 375°F for approximately 8 to 10 minutes.
The oven restores the coating better than the microwave.
Reheating in the Air Fryer
Heat the tenders at 375°F for approximately three to five minutes.
Check them frequently because smaller pieces can heat quickly.
Reheating in the Microwave
Microwave reheating is convenient, but it will soften the coating.
Heat in short intervals only until the chicken is warmed through.
Frequently Asked Questions
1. How do you get breading to stick to chicken tenders?
Pat the chicken completely dry before coating it. Cover it first with a thin layer of flour, then egg, and finally breadcrumbs. Press the crumbs firmly onto the chicken and let the coated tenders rest for about five minutes before baking. This gives the breading time to attach more securely.
2. How long should chicken tenders bake at 425°F?
Most chicken tenders bake in approximately 15 to 18 minutes at 425°F. Thin pieces may cook more quickly, while thicker tenders can take a few extra minutes. The safest way to check them is with a meat thermometer. The center should reach 165°F.
3. Can I make chicken tenders without breadcrumbs?
Yes. Crushed cornflakes, crackers, tortilla chips, almond flour, or finely crushed pretzels can replace breadcrumbs. The texture and flavor will change depending on the coating. Cornflakes are one of the best options when you still want a crunchy result.
4. Why are my baked chicken tenders not crispy?
Baked chicken tenders may turn soft when the chicken is wet, the tray is overcrowded, or too little oil is used. Preheat the baking sheet, leave space between the pieces, and lightly spray the coating with oil. Baking on a wire rack also improves airflow and crispness.
5. Can I prepare breaded chicken tenders ahead of time?
Yes. Bread the chicken, place the pieces in a single layer on a tray, and refrigerate them for up to several hours before baking. For longer storage, freeze the uncooked breaded tenders. Avoid stacking freshly breaded chicken because the coating may stick together or become wet.
Crispy Chicken Tenders
Ingredients
Method
- Place a large baking sheet in the oven and preheat the oven to 425°F.
- Pat the chicken tenderloins dry with paper towels.
- Add the flour, ½ teaspoon salt, and half the black pepper to a shallow bowl.
- In a second shallow bowl, whisk the eggs with one tablespoon of water.
- In a third bowl, combine the panko, Parmesan, garlic powder, onion powder, paprika, remaining salt, remaining pepper, and optional Italian seasoning.
- Coat each chicken tender lightly in flour and shake away the excess.
- Dip the chicken into the egg mixture and allow the excess to drip off.
- Press the chicken into the seasoned breadcrumb mixture until completely coated.
- Carefully remove the hot baking sheet from the oven and lightly grease it.
- Arrange the chicken tenders in a single layer with space between each piece.
- Lightly spray or drizzle the tops with oil.
- Bake for 15 to 18 minutes, turning halfway through when cooking directly on the pan.
- Remove the tenders when they are golden and the center reaches 165°F.
- Rest for three to five minutes before serving.
- Preheat the air fryer to 400°F.
- Arrange the breaded chicken tenders in a single layer.
- Lightly spray both sides with cooking oil.
- Air fry for 9 to 12 minutes, turning halfway through.
- Cook until golden and the internal temperature reaches 165°F.
Notes
- Use panko breadcrumbs for the crispiest coating.
- Pat the chicken dry before beginning.
- Press the crumbs firmly onto each tender.
- Do not overcrowd the baking sheet or air fryer.
- Cooking time may vary depending on the thickness of the chicken.
- Avoid covering the cooked tenders because trapped steam softens the coating.
- Refrigerate leftovers for up to four days.
Nutrition Per Serving
Nutrition is an estimate and will vary depending on the size of the chicken pieces and the amount of coating used.- Calories: 410
- Protein: 45 grams
- Fat: 13 grams
- Carbohydrates: 28 grams