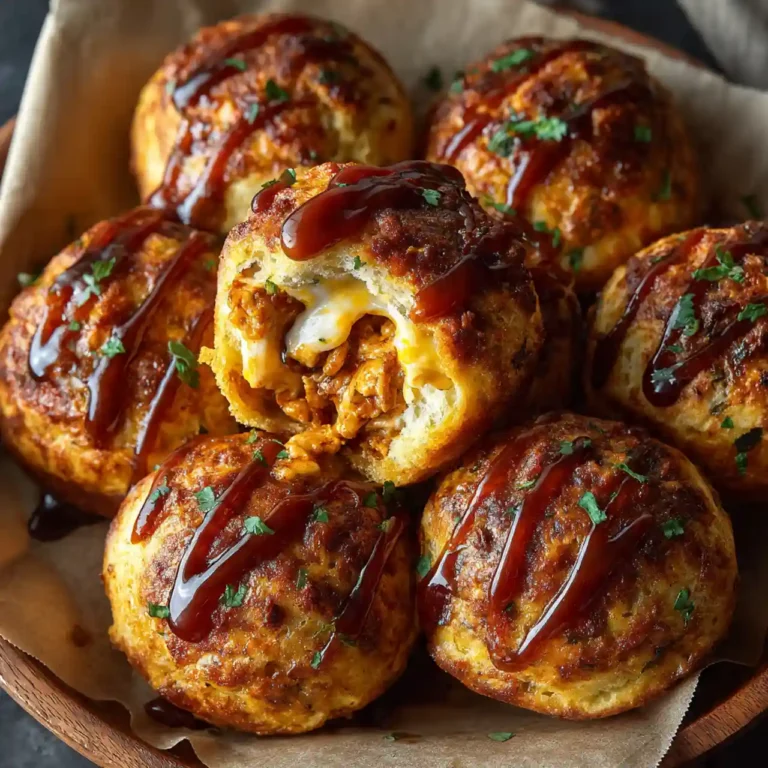
Buttery Homemade Garlic Breadsticks

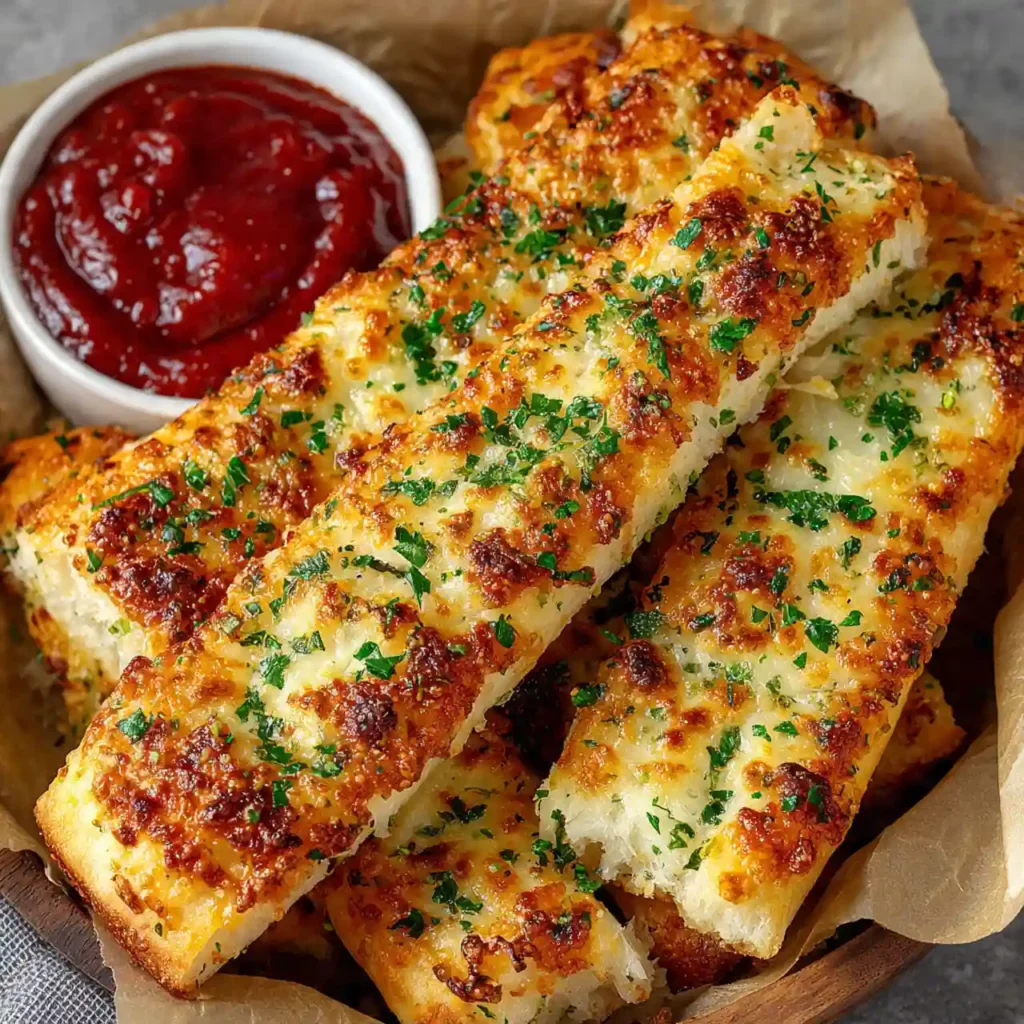
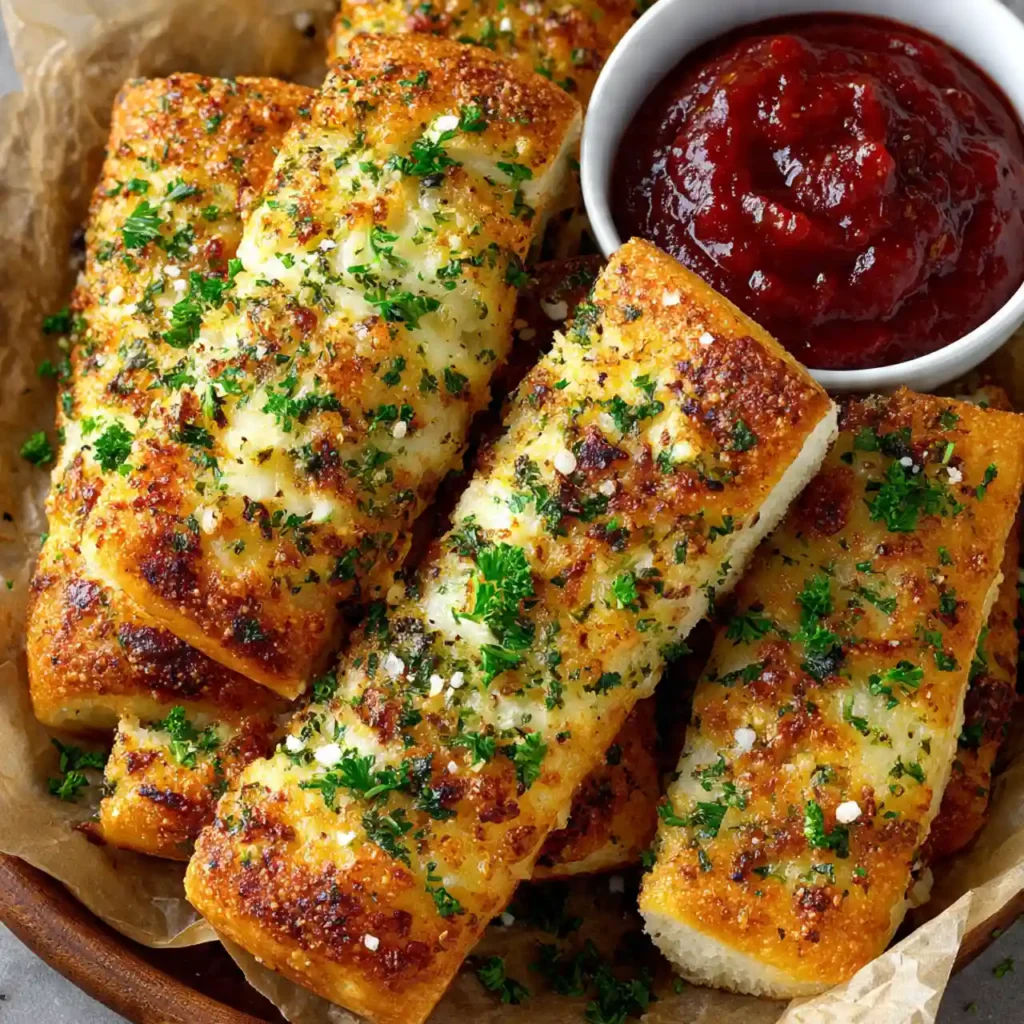
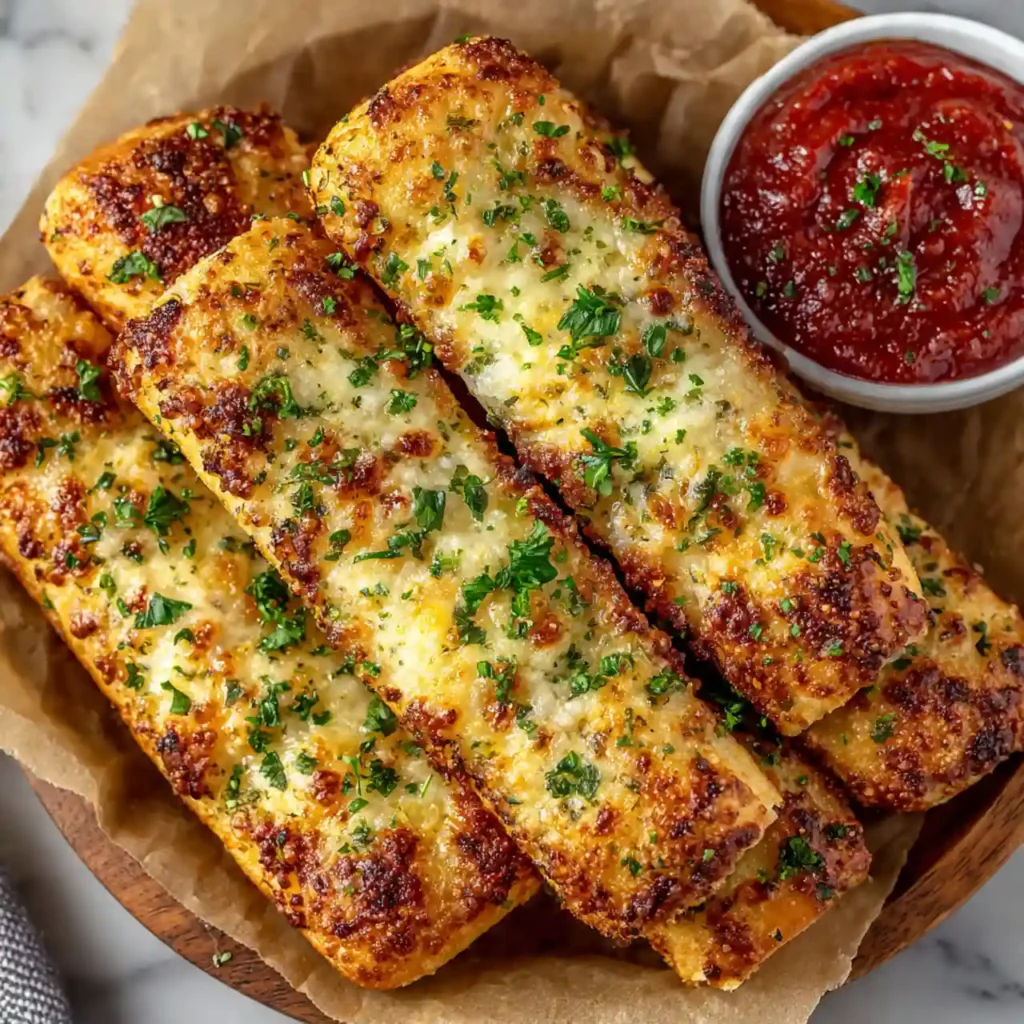
These homemade Garlic Breadsticks have soft, fluffy centers, lightly golden edges, and a generous coating of melted garlic butter. They are simple enough for a beginner, but taste much fresher than packaged or frozen breadsticks.

Serve them alongside pasta, soup, salad, or homemade pizza. They also work as a warm party appetizer when paired with marinara, ranch, garlic sauce, or whipped cheese dip.

The dough needs time to rise, but the hands-on preparation is straightforward. Brushing the breadsticks with garlic butter both before and after baking gives them plenty of flavor without making them greasy.

What Do Garlic Breadsticks Taste Like?

Freshly baked garlic breadsticks are buttery, savory, and aromatic, with a mild sweetness from the dough. Garlic, parsley, and Parmesan add flavor without overpowering the bread.

The outside is lightly golden and tender rather than hard or crusty. Inside, the breadsticks remain soft, airy, and slightly chewy. A final coat of garlic butter keeps their tops moist and flavorful.

How to Make Garlic Breadsticks

1. Activate the yeast

Pour the warm water into a large mixing bowl. The water should feel warm but not hot. Water that is too hot can damage the yeast and prevent the dough from rising.

Add the sugar and yeast, stir gently, and let the mixture rest for about five minutes. It should look creamy or slightly foamy on top. If nothing happens after 10 minutes, your yeast may be old or the water temperature may have been unsuitable.

Instant yeast can also be mixed directly with the flour, but testing it in water first confirms that it is active.

2. Begin the dough

Add the melted butter, salt, and two cups of flour to the yeast mixture. Stir with a sturdy spoon until the ingredients form a thick, sticky mixture.

Add the remaining flour gradually instead of pouring it in all at once. Humidity and the way flour is measured can affect how much the dough needs.

Stop adding flour when the dough begins pulling away from the sides of the bowl but still feels soft. A slightly tacky dough creates softer breadsticks than a dry, heavily floured dough.

3. Knead until smooth

Transfer the dough to a lightly floured surface. Knead it for approximately six to eight minutes, folding and pressing it forward with the heel of your hand.

The finished dough should feel smooth, flexible, and slightly tacky without sticking heavily to your fingers.

If the dough sticks to the work surface, add flour one tablespoon at a time. Avoid adding large amounts because excess flour can make the breadsticks dense.

If using a stand mixer, knead with the dough hook on low speed for approximately five minutes.

4. Let the dough rise

Lightly grease a clean bowl and place the dough inside. Turn it once so the surface receives a thin coating of oil.

Cover the bowl with a clean kitchen towel or plastic wrap. Leave it in a warm, draft-free place for approximately 60–90 minutes, or until it has doubled in size.

Rising time can vary depending on the room temperature. Judge the dough by its size rather than watching the clock alone.

5. Divide the dough

Gently press the risen dough to release large air pockets. Transfer it to a clean surface and divide it into 12 equal portions.

For evenly sized breadsticks, weigh the entire dough and divide that number by 12. Otherwise, shape the dough into a rough circle and cut it into equal wedges.

Keep the portions covered while you work so their surfaces do not dry out.

6. Shape the breadsticks

Roll each portion between your hands or against the work surface to create a rope approximately seven inches long.

Arrange the shaped breadsticks on a parchment-lined baking sheet, leaving space between them. They will expand during the second rise and again in the oven.

Try to keep the thickness consistent from one end to the other. Very thin ends can become dry before the centers finish baking.

7. Allow a second rise

Loosely cover the baking sheet and leave the shaped dough in a warm place for 25–35 minutes. The breadsticks should look noticeably puffier, but they do not need to double completely.

While they rise, preheat the oven to 400°F. A properly heated oven helps the breadsticks rise quickly and brown evenly.

8. Prepare the garlic butter

Combine melted butter, finely minced garlic, dried parsley, garlic powder, and salt in a small bowl.

Using both fresh garlic and garlic powder creates a fuller flavor. The fresh garlic adds aroma, while the powder distributes more evenly across the breadsticks.

Set aside approximately half of this mixture for brushing after baking. Keep the reserved portion separate so the pastry brush used on raw dough does not touch it.

9. Brush and bake

Brush the risen breadsticks lightly with half of the garlic butter. Do not soak the dough because too much butter before baking can prevent the tops from browning properly.

Bake for approximately 12–15 minutes. The breadsticks are ready when the tops are lightly golden and the bottoms have developed a little color.

Avoid overbaking them. Garlic breadsticks should remain soft rather than developing the firm crust of a baguette.

10. Add the finishing butter

Brush the hot breadsticks immediately with the reserved garlic butter. The warmth helps the bread absorb the flavor.

Sprinkle grated Parmesan over the tops while the butter is still wet so it sticks. Let the breadsticks cool for about five minutes before serving.

Pro Tips for Soft Garlic Breadsticks

  • Measure the flour by spooning it into the measuring cup and leveling the top.
  • Use water between approximately 105°F and 110°F to activate the yeast.
  • Check the expiration date on the yeast before beginning.
  • Keep the dough slightly tacky rather than adding flour until it feels dry.
  • Let the dough rise until doubled, even if it takes longer than expected.
  • Shape the breadsticks to an even thickness so the ends do not burn.
  • Leave enough room between them for air to circulate.
  • Reserve part of the garlic butter for brushing after baking.
  • Watch the breadsticks closely during the final few minutes.
  • Serve them warm for the softest texture.

Variations and Substitutions

Cheesy garlic breadsticks

Sprinkle shredded mozzarella over the breadsticks during the final three to five minutes of baking. Return them to the oven until the cheese has melted.

Garlic herb breadsticks

Add dried oregano, basil, rosemary, or Italian seasoning to the garlic butter. Use dried herbs sparingly because their flavor becomes stronger in hot butter.

Spicy breadsticks

Mix crushed red pepper flakes or a small amount of cayenne into the butter. You can also serve the breadsticks with spicy marinara.

Whole-wheat breadsticks

Replace up to half of the all-purpose flour with whole-wheat flour. The breadsticks will have a slightly firmer texture and may need an extra tablespoon or two of water.

Dairy-free breadsticks

Replace the butter with olive oil or a plant-based butter suitable for baking. Skip the Parmesan or use a dairy-free alternative.

Garlic knots

Divide the dough into smaller portions, roll each one into a rope, and tie it into a loose knot. Garlic knots may bake slightly faster, so begin checking them after 10 minutes.

Stuffed breadsticks

Flatten each portion of dough and add a narrow piece of mozzarella. Pinch the dough securely around the cheese before shaping it into a breadstick.

Storage, Freezing, and Reheating

Refrigerating

Allow leftover breadsticks to cool completely before placing them in an airtight container. They can be kept at room temperature for up to two days or refrigerated for up to five days.

Refrigeration can make bread dry more quickly, so use a tightly sealed container.

Making them ahead

Prepare and shape the dough, arrange the breadsticks on the baking sheet, and cover them tightly. Refrigerate for up to 18 hours.

Before baking, let them stand at room temperature for approximately 30–45 minutes, or until puffy. Add the garlic butter shortly before placing them in the oven.

Freezing baked breadsticks

Cool the breadsticks completely, then freeze them in a single layer. Once firm, transfer them to a freezer-safe bag and store them for up to three months.

Thaw at room temperature or reheat directly from frozen. Brush them with a little fresh garlic butter after warming.

Freezing the dough

The shaped dough can be frozen before its second rise. Freeze the breadsticks on a baking sheet, then transfer them to a freezer-safe container.

Thaw them overnight in the refrigerator. Move them to a baking sheet and allow them to become puffy at room temperature before brushing and baking.

Reheating

Wrap several breadsticks loosely in foil and warm them in a 350°F oven for 8–10 minutes. Individual breadsticks can be reheated in an air fryer at 325°F for approximately three minutes.

A microwave is convenient, but use short 10-second intervals. Overheating can make the breadsticks tough.

Frequently Asked Questions

Why did my garlic breadsticks turn out dense?

Dense breadsticks can result from inactive yeast, adding too much flour, insufficient kneading, or cutting the rising time short. Keep the dough soft and slightly tacky, then allow it to double before shaping. The shaped breadsticks also need a second rise before baking.

Can I make garlic breadsticks without a stand mixer?

Yes. The dough can be mixed with a sturdy spoon and kneaded by hand for six to eight minutes. Hand kneading also makes it easier to feel when the dough has become smooth and elastic.

Can I use active dry yeast instead of instant yeast?

Yes. Use the same amount of active dry yeast, but dissolve it in warm water with the sugar first. Let it rest for five to 10 minutes before adding the remaining ingredients. Instant yeast can be activated this way or mixed directly into the flour.

How do I keep homemade breadsticks soft?

Avoid adding too much flour or baking the breadsticks until dark brown. Brush them with butter immediately after baking and cover the cooled leftovers tightly. Reheat them gently in foil to prevent moisture loss.

What dipping sauces go with garlic breadsticks?

Marinara is the most popular option, but garlic breadsticks also pair well with ranch dressing, pesto, Alfredo sauce, whipped feta, warm cheese dip, or seasoned olive oil. Use a thicker sauce if the breadsticks are being served as a party appetizer.

What to Make Next

Homemade Garlic Breadsticks

These homemade Garlic Breadsticks are soft, fluffy, and brushed twice with savory garlic butter. Serve them warm with pasta, soup, pizza, or marinara dipping sauce.
Prep Time 25 minutes
Cook Time 15 minutes
Rising Time 1 hour 45 minutes
Total Time 2 hours 25 minutes
Servings: 12 breadsticks
Course: Appetizer, Finger food
Cuisine: American, Italian-Inspired
Calories: 190

Ingredients
  

For the dough
  • 1 cup warm water approximately 105–110°F
  • teaspoons instant or active dry yeast one standard packet
  • 2 tablespoons granulated sugar
  • 3 tablespoons unsalted butter melted and slightly cooled
  • 1 teaspoon salt
  • 3 to 3¼ cups all-purpose flour
  • 1 teaspoon olive oil for greasing the bowl
For the garlic butter
  • 5 tablespoons unsalted butter melted
  • 3 garlic cloves finely minced
  • ½ teaspoon garlic powder
  • 1 teaspoon dried parsley
  • ¼ teaspoon salt
  • 2 tablespoons finely grated Parmesan cheese

Method
 

  1. Add the warm water, sugar, and yeast to a large mixing bowl. Stir and let stand for five minutes, until slightly foamy.
  2. Mix in three tablespoons of melted butter and one teaspoon of salt.
  3. Add two cups of flour and stir until combined.
  4. Gradually add enough remaining flour to form a soft, slightly tacky dough.
  5. Knead by hand for six to eight minutes or with a dough hook for approximately five minutes.
  6. Place the dough in a lightly greased bowl. Cover and let rise for 60–90 minutes, or until doubled.
  7. Line a large baking sheet with parchment paper.
  8. Gently deflate the dough and divide it into 12 equal portions.
  9. Roll each portion into a rope approximately seven inches long. Arrange them on the prepared pan.
  10. Cover loosely and let rise for another 25–35 minutes.
  11. Preheat the oven to 400°F.
  12. Combine five tablespoons of melted butter with the minced garlic, garlic powder, parsley, and ¼ teaspoon salt.
  13. Set aside half of the garlic butter in a separate clean bowl.
  14. Brush the breadsticks lightly with the first half of the garlic butter.
  15. Bake for 12–15 minutes, until lightly golden.
  16. Brush the hot breadsticks with the reserved garlic butter.
  17. Sprinkle with Parmesan and serve warm.

Notes

  • Add the flour gradually so the dough does not become dry.
  • Make sure the water is warm rather than hot.
  • Rising time may vary with the temperature of your kitchen.
  • Keep the garlic butter used after baking separate from the portion used on raw dough.
  • Store cooled leftovers in an airtight container for up to two days at room temperature.
  • Freeze baked breadsticks for up to three months.
Nutrition Estimate per Breadstick
  • Calories: 190 kcal
  • Protein: 4 g
  • Fat: 8 g
  • Carbohydrates: 26 g
  • Fiber: 1 g
  • Sugar: 2 g
  • Sodium: 270 mg
Nutrition values are estimates and may vary depending on the amount of flour, butter, and Parmesan used.

Similar Posts