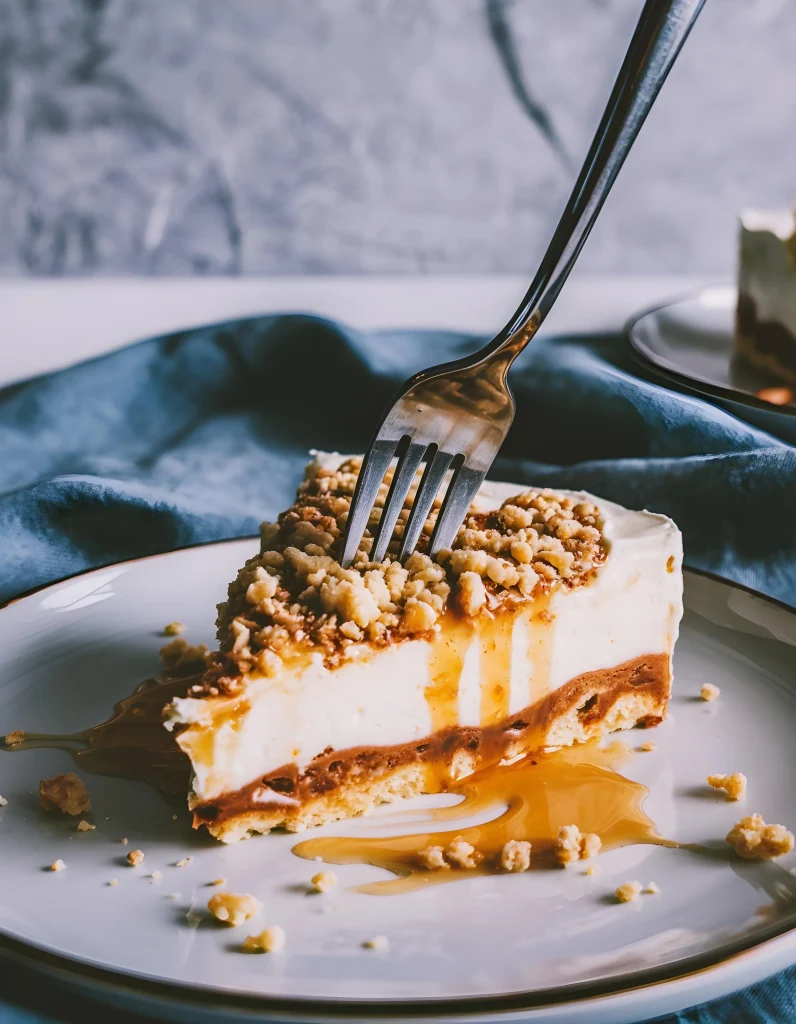
Amish Peanut Butter Cream Pie is one of those desserts that sneaks up on you. You think it’ll be simple and sweet but then you take a bite, and suddenly, it’s all you can think about. That light, whipped vanilla filling. The sweet and salty peanut butter crumbles. The buttery crust holding it all together. It’s cool, creamy, and dreamy in every way.
This pie isn’t flashy. It doesn’t try to impress with swirls of ganache or complicated layers. Instead, it shows up with quiet confidence, just like something you’d find at a family-run Amish bakery tucked away off a country road. One bite, and you know: this is comfort food at its best.
In this recipe, we’re honoring the tradition while giving it a modern kitchen twist. You’ll learn how to get that perfect peanut butter crumb (it’s easier than you think), how to layer it like the pros, and how to make it your own.
But this isn’t just a recipe, it’s a slice of memory, a piece of tradition, and a dessert that never gets old. Whether you’re introducing it to new friends or carrying on a family favorite, there’s a place for this pie at every table.
Why You’ll Love This Pie
- No baking required for the filling just a simple crust
- Light and airy texture with that signature Amish crumb
- Easy to customize with flavor variations
- Great for holidays, potlucks, and make-ahead desserts
- A nostalgic bite of country-style comfort
- Everyone from kids to grandparents loves it
This pie is the kind of dessert that doesn’t last long on the table. It gets scooped up fast, and everyone always asks, “What’s in this?” It’s simple, but it leaves a big impression.
Step-by-Step Instructions
1. Make the Peanut Butter Crumbs
This is the heart of the pie. The classic Amish touch comes from sweet and crumbly peanut butter “sand” made from just two ingredients. Combine them using a fork or clean hands until the texture looks like damp, soft crumbs. Not a paste, and not a powder something in between.

If the mixture feels too sticky, add a little more powdered sweetness. Too dry? A spoonful of peanut butter brings it back. This step takes less than five minutes, but makes all the difference.
Set aside half of your crumbs for layering the base of the pie. Keep the rest for that irresistible topping. The crumble layer adds both flavor and texture it’s what sets this pie apart from ordinary pudding pies.
2. Prepare the Pudding Filling
In another bowl, whisk together your instant pudding and cold milk until thickened. Vanilla is traditional, but banana, chocolate, or butterscotch also work well. The pudding needs to sit for a few minutes to fully thicken, and while it does, you can prep your whipped cream.
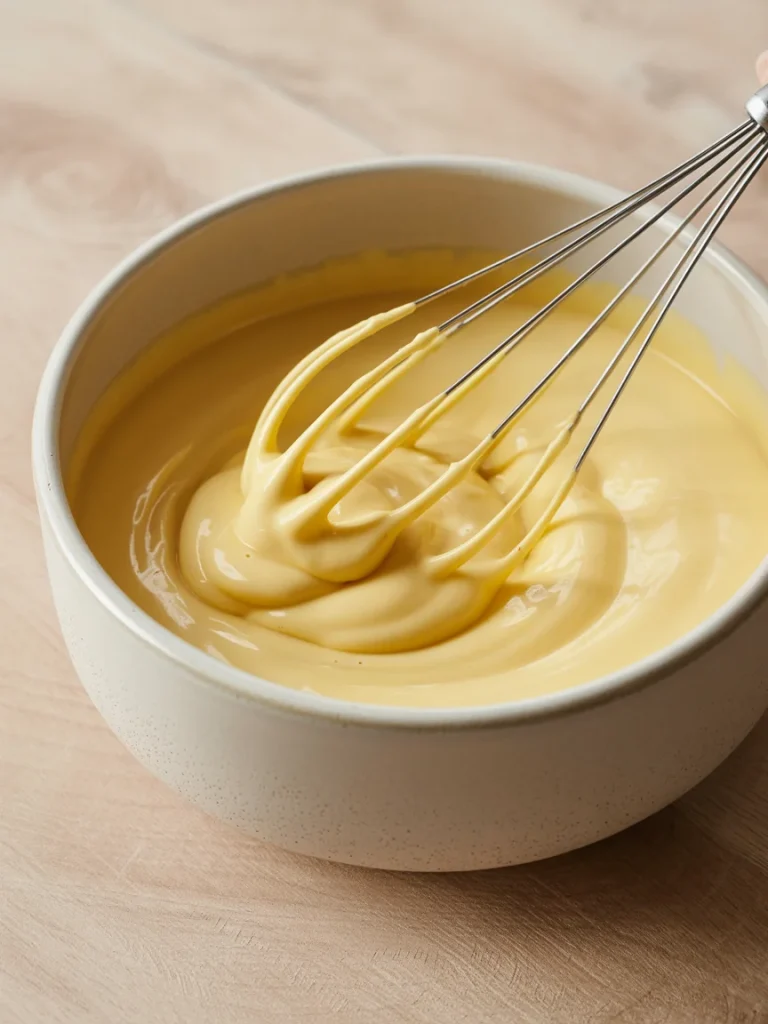
The goal here is to get a filling that’s creamy but not too dense. You want it to hold up in a slice, but still melt in your mouth. Make sure your milk is cold—warm milk won’t let the pudding set properly.
3. Make the Whipped Cream (Or Use Cool Whip)
If you’re making whipped cream from scratch:
- Pour cold heavy cream into a chilled bowl.
- Add vanilla extract.
- Beat with a hand mixer until soft peaks form.
Homemade whipped cream has a richer flavor and softer texture. But if you’re short on time or serving a crowd, Cool Whip works perfectly.
Now, gently fold the whipped cream into the thickened pudding. Do this in batches, using a spatula, until everything is light and fluffy. Don’t rush this—fold gently so you don’t deflate all that lovely air you whipped in.
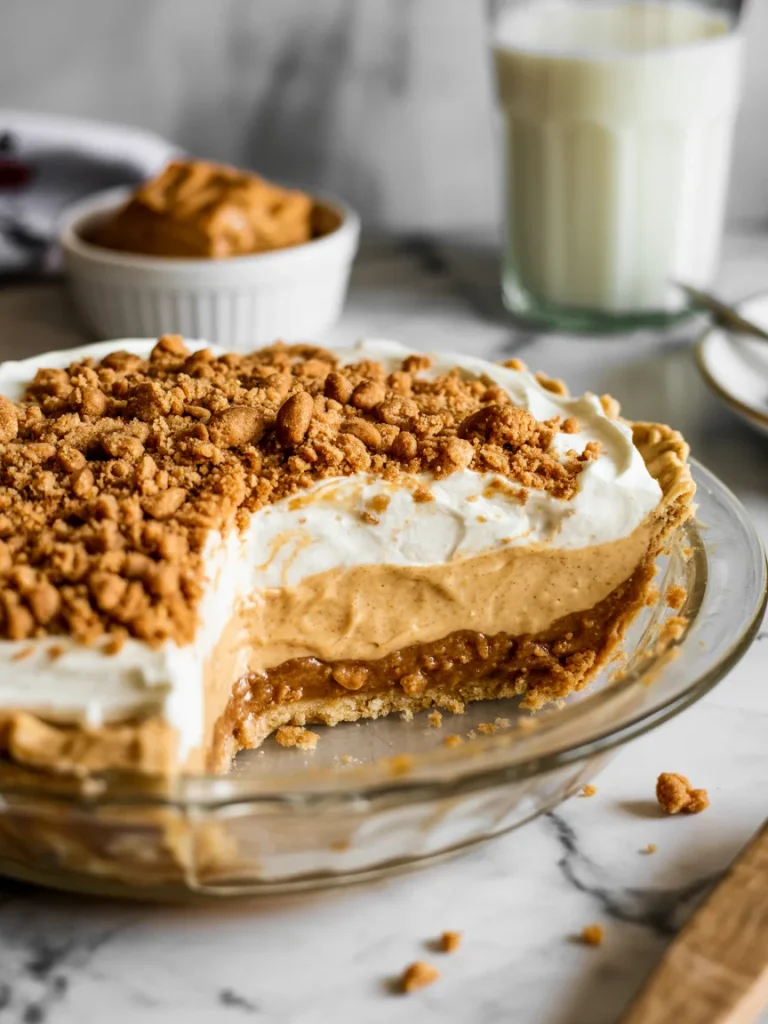
4. Layer the Pie
Start with your pre-baked and cooled crust—this can be homemade, store-bought, graham cracker, or cookie-based.
- Sprinkle half of the peanut butter crumbs into the crust.
- Spread the creamy pudding mixture over the crumb layer and smooth it out.
- Add a generous layer of whipped topping or remaining pudding-whip blend on top.
- Finish by sprinkling the rest of the peanut butter crumbs across the surface.
You can keep it simple, or dress it up with chocolate shavings, chopped mini peanut butter cups, or a caramel drizzle if you’re feeling indulgent. The visual appeal of that crumbled top layer gives it a rustic, homemade look everyone loves.
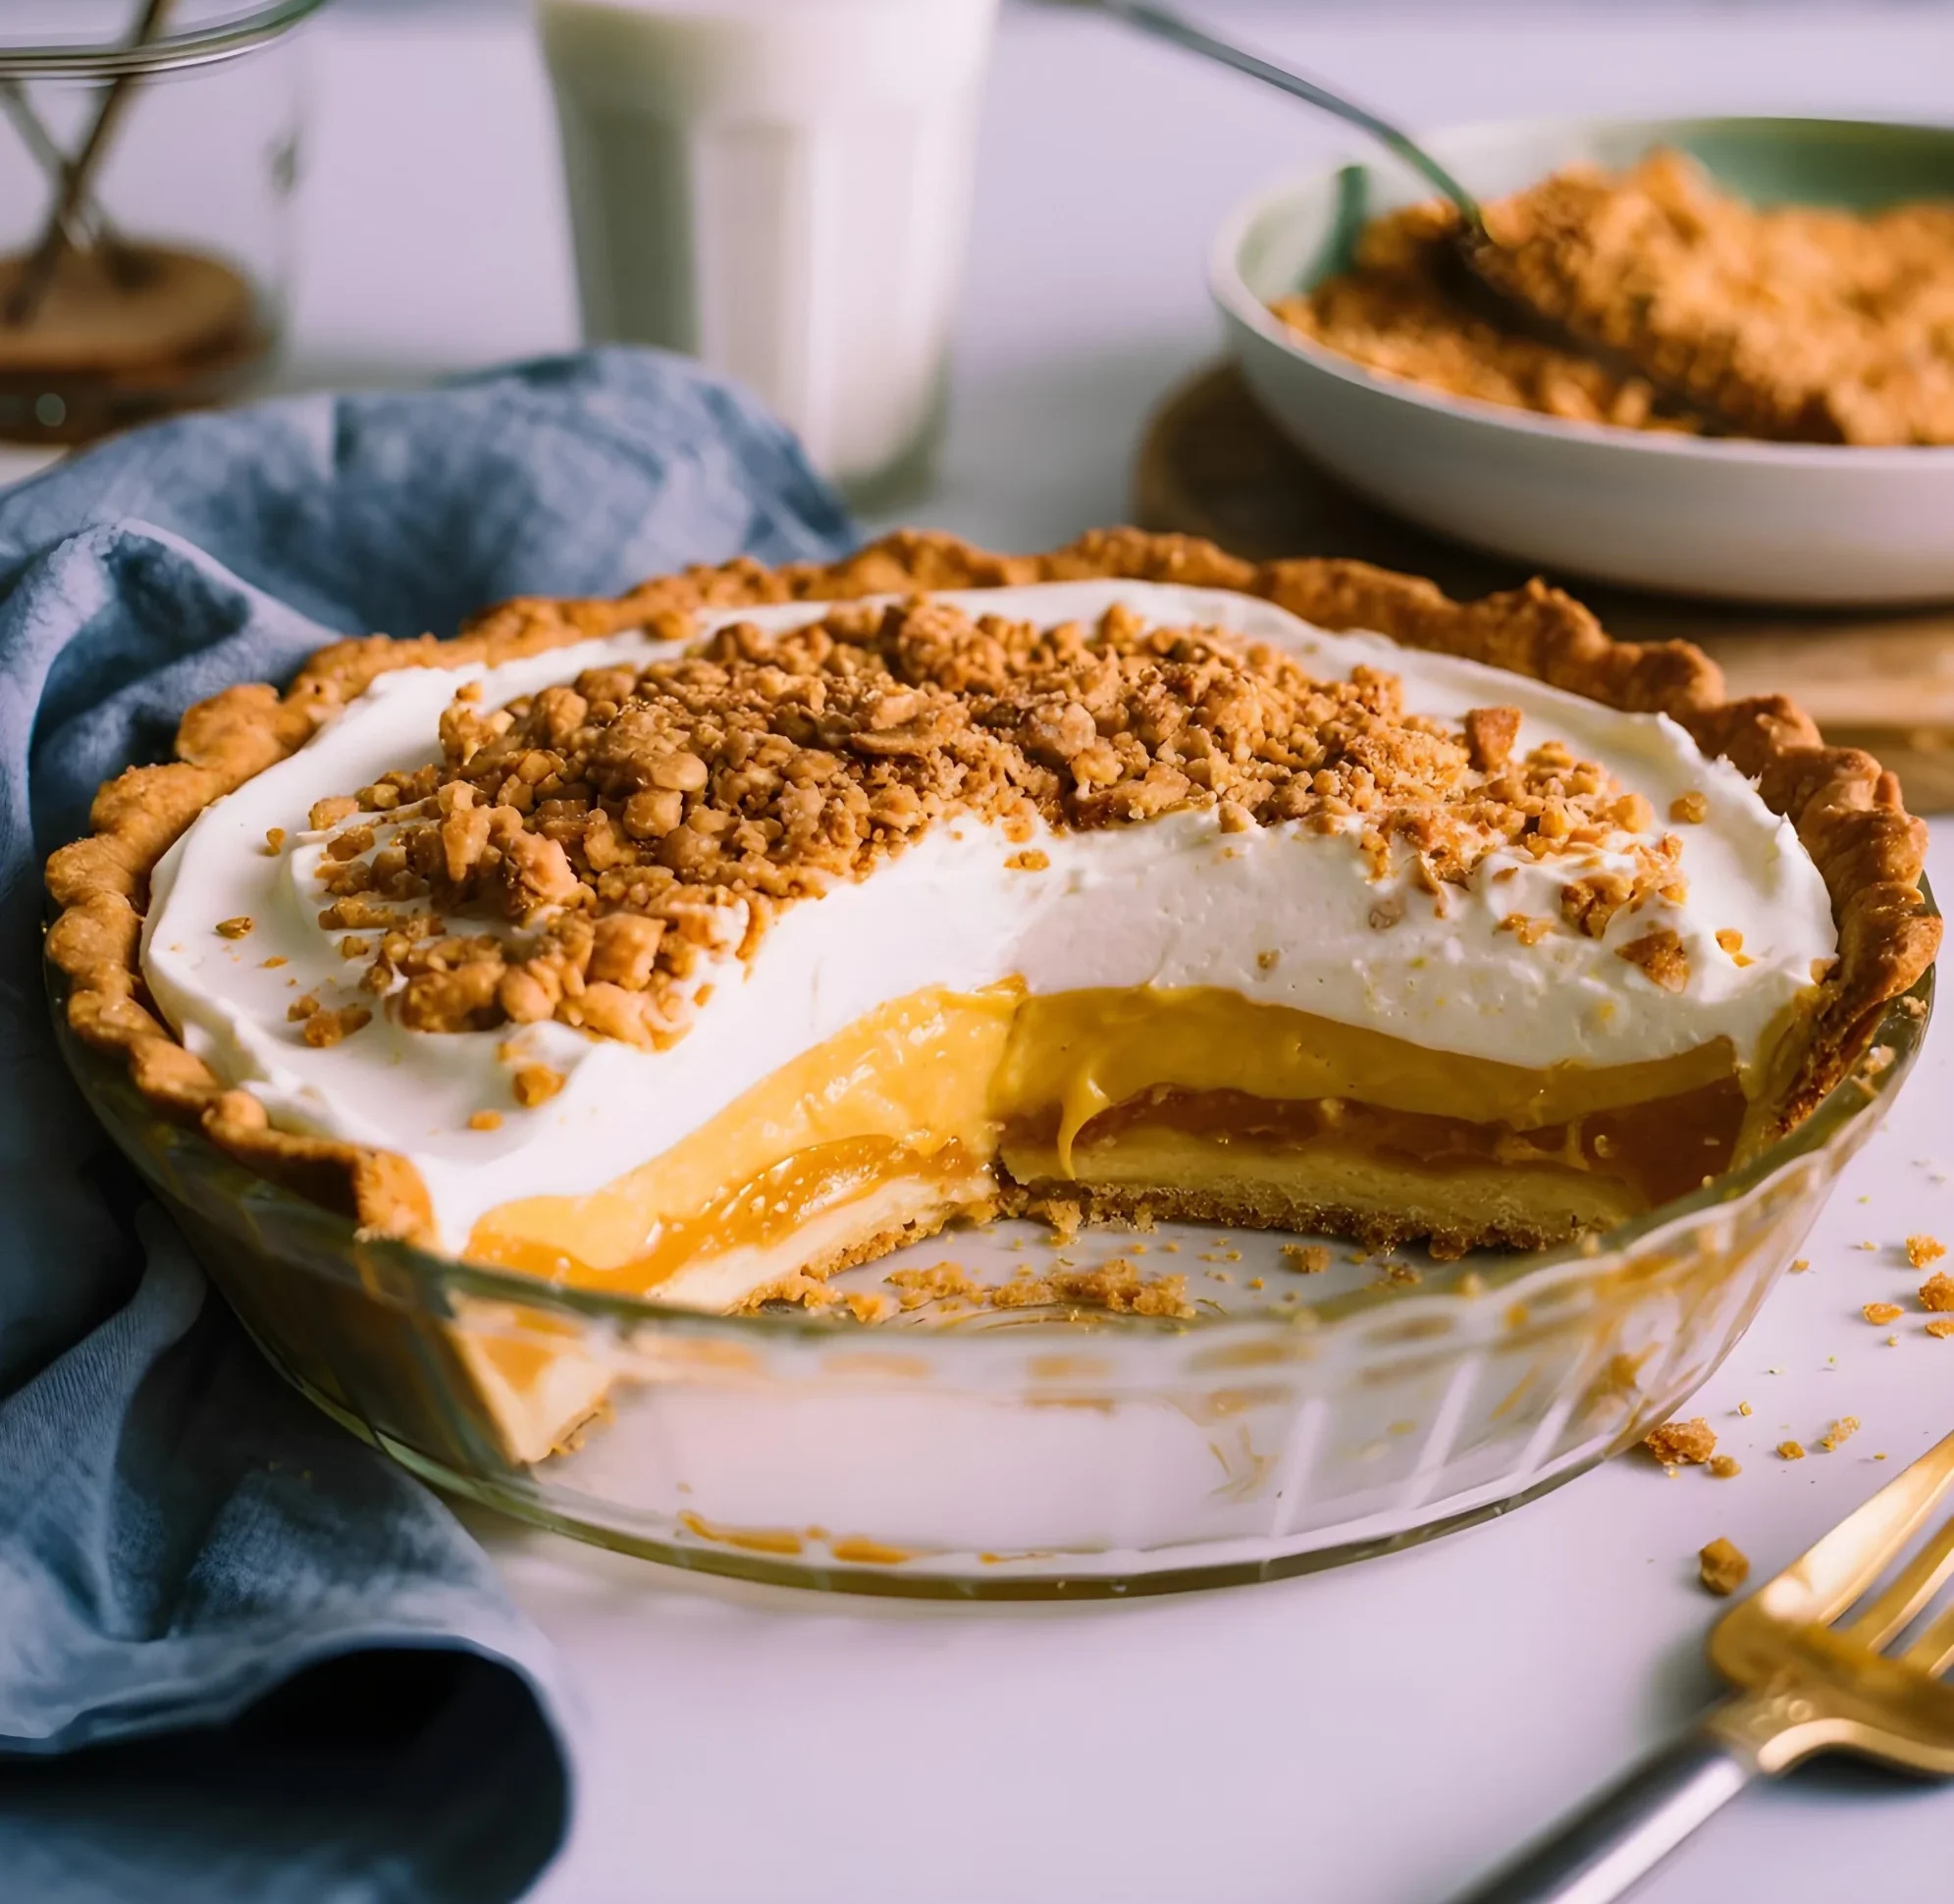
5. Chill & Slice
Cover the pie loosely with plastic wrap or foil and let it chill in the fridge for at least 2 hours. Overnight is even better. This gives the pudding time to set and helps the flavors come together.
Once chilled, slice carefully and serve cold. The first slice might get a little messy, but it’s worth it. Every creamy, crumbly bite is a little taste of old-fashioned happiness.
To get the cleanest slices, use a sharp knife dipped in hot water and wiped clean between each cut.
- Use classic peanut butter with sugar and salt. Natural peanut butter doesn’t break down the same way.
- Don’t overmix the crumble you want texture, not dough.
- Let it chill long enough so the layers hold when sliced.
- Use cold ingredients to ensure your pudding sets properly.
- Garnish last minute if using delicate toppings like bananas or chocolate shavings.
Serving Suggestions
This pie shines on its own, but here are a few ways to serve it that make it even more special:
- With a cup of black coffee or Earl Grey tea
- Alongside fresh strawberries or banana slices
- Drizzled with warm chocolate or caramel sauce
- Paired with a scoop of vanilla bean ice cream for contrast
It’s also a perfect finish to a hearty Sunday dinner or a sweet way to celebrate birthdays without a traditional cake.
Variations to Try
| Flavor Twist | What to Do |
|---|---|
| Chocolate Peanut Butter | Use chocolate pudding and an Oreo crust |
| Banana Cream Crumble | Add banana slices over the bottom crumb layer |
| Butterscotch Bliss | Use butterscotch pudding and caramel drizzle |
| Crunchy Peanut Crumble | Use crunchy peanut butter in the crumb mix |
| Salted Chocolate Finish | Add shaved chocolate and a pinch of sea salt on top |
This pie is versatile. Make it yours. It’s one of the easiest recipes to personalize without risking a baking disaster.
Make-Ahead & Storage
It’s best to make this nightie the day before serving to allow the flavors to meld. Store it in the refrigerator, lightly covered, for up to 4 days. If making ahead for a party, wait to add the final crumb topping until shortly before serving to keep it crisp.
Freezing isn’t recommended. The whipped cream and pudding layers tend to break down in texture after thawing, becoming watery or grainy.
For potlucks or family reunions, make a double batch and serve it in a 9×13-inch pan like bars. It travels well and disappears fast.
Story: The First Time I Tried It
I didn’t plan on falling in love with this pie. It was handed to me at a small church dinner in Amish country. Someone said, “Try the peanut butter pie before it’s gone.” I assumed it would be rich, maybe thick, but no. It was light. Cold. Not a bakery imitation, but a sweet that tastes like homemade.
That night, I left with a full stomach and a paper napkin with the recipe scrawled on it. It’s lived in my family ever since.
Now, it’s the pie I bring to everything, backyard BBQs, new baby visits, holiday dinners. And I’m still surprised by how many people ask, “What is this?” even after the first bite.
FAQs
Can I use natural peanut butter?
Nope. Natural peanut butter is too oily and doesn’t hold together for crumbs. You’ll end up with paste instead of crumble. Go with classic brands like Jif or Skippy. They offer the right consistency and a balanced salty-sweet flavor.
What kind of crust works best?
Traditional buttery pie crust gives that flaky base, but if you want more flavor or crunch, graham cracker and Oreo crusts are fantastic options. Even crushed peanut butter cookie crusts (like Nutter Butters) can take this pie to another level.
Can I make this with cooked pudding?
Yes, if you have a favorite stovetop vanilla pudding, go for it. Just make sure it’s completely cooled before folding in the whipped topping, or it’ll melt the cream and ruin the texture. The homemade route adds richness, but instant works well for convenience.
Can I double this recipe?
Absolutely. Use a 9×13-inch pan instead of a pie dish. It makes perfect dessert bars for crowds. Just layer the same way and cut into squares. Keep in mind it might need a little longer chilling time.
Is it really Amish?
The concept is definitely rooted in Amish tradition, especially the peanut butter crumb topping, which is known as “schmier” in some communities. While modern versions like this one use shortcuts like pudding mix and whipped topping, the flavor and method still honor the original.
Can I make this ahead of time?
Yes, and you should! This pie needs a few hours to chill anyway, and it actually tastes better the next day. For parties, prep it the night before, and keep it chilled until serving. Just hold off on toppings like banana or whipped cream swirls until you’re ready to serve.
How long will it keep?
Up to 4 days in the refrigerator. Cover loosely with foil or store in an airtight container. After 2–3 days, the crumb topping may soften a bit, but the flavor stays delicious.
Can I add chocolate to this?
Definitely. Stir mini chocolate chips into the filling, use a chocolate crust, or drizzle chocolate over the top. You can also add a chocolate ganache layer just under the whipped topping for something decadent.
What’s the best way to transport it?
Use a pie carrier or cover tightly with plastic wrap and foil. Keep it chilled in a cooler with an ice pack if you’re heading to an event. The pie holds its shape well once it’s set, but should be served cold.
This isn’t a dessert that needs fancy presentation or explanation. It’s just good. Familiar. The kind of pie that gets eaten before dinner’s even cleared, and the kind people always remember. If you’ve never had Amish Peanut Butter Cream Pie, let this be your moment. If you have—welcome back.
One bite in, and you’ll see why it’s been passed down, written on napkins, saved in recipe boxes, and baked again and again for generations.
Amish Peanut Butter Cream Pie
Ingredients
Method
- In a medium bowl, combine creamy peanut butter and powdered sugar. Use a fork or your hands to blend until it forms coarse, sandy crumbs. Do not overmix. Set aside half for the base and half for topping.
- In a separate bowl, whisk together instant vanilla pudding and cold milk for 2 minutes. Let thicken for 3–5 minutes.
- If using heavy cream, whip it with vanilla extract in a chilled bowl until soft peaks form. If using Cool Whip, skip to the next step.
- Gently fold the whipped cream into the thickened pudding until light and fluffy. Do not overmix.
- Sprinkle half of the peanut butter crumbs into the base of the baked pie crust.
- Spread the pudding mixture evenly over the crumbs.
- Add a layer of whipped cream (if not folded in).
- Sprinkle remaining peanut butter crumbs on top.
- Add optional toppings if desired.
- Cover and refrigerate for at least 2 hours, or overnight for best texture.
- Slice cold and serve with coffee, tea, or a scoop of vanilla ice cream.
Notes
- Use classic peanut butter (like Jif or Skippy); natural peanut butter won’t form proper crumbs.
- For a chocolate twist, use chocolate pudding and an Oreo crust.
- Add toppings like bananas, chocolate chips, or chopped nuts right before serving.
- Best served chilled. Do not freeze.