Chocolate Bark with Nuts & Fruit

Chocolate Bark with Nuts & Fruit is one of the easiest homemade chocolate treats you can make, but it still looks beautiful on a dessert tray. You only need melted chocolate, crunchy nuts, chewy dried fruit, and a little time for everything to set.
This recipe is perfect for holidays, edible gifts, party boards, after-dinner sweets, or quick chocolate cravings. It feels special because every piece looks different, but the process is simple enough for beginners.
What makes this version work so well is the balance of texture. The chocolate sets firm, the nuts add crunch, and the dried fruit adds chewiness and natural sweetness. A small sprinkle of flaky salt makes the chocolate taste deeper and keeps the bark from feeling too sweet.
What This Recipe Tastes Like

Chocolate Bark with Nuts & Fruit tastes rich, crisp, sweet, nutty, and slightly chewy. The chocolate gives it a smooth snap, while the nuts add crunch and the dried fruit brings bright, fruity sweetness.
If you use semi-sweet chocolate, the flavor is balanced and not too sugary. Dark chocolate makes it more intense and slightly bitter, while milk chocolate creates a sweeter candy-style bark.
The final texture should be firm enough to break into pieces but not waxy or dull. Each bite gives you chocolate, crunch, and fruit in a simple homemade candy that feels much more polished than the effort required.
Why You’ll Love This Recipe
- No baking required
- Great for holiday gifting and dessert trays
- Easy to customize with different nuts and fruits
- Looks beautiful with very little decorating effort
- Stores well and travels easily
- Beginner-friendly and quick to prepare
- Perfect for using small amounts of pantry ingredients
Best Occasions to Serve This

Chocolate Bark with Nuts & Fruit is perfect for Christmas, Thanksgiving, Easter, Valentine’s Day, birthdays, potlucks, teacher gifts, hostess gifts, and homemade holiday treat boxes.
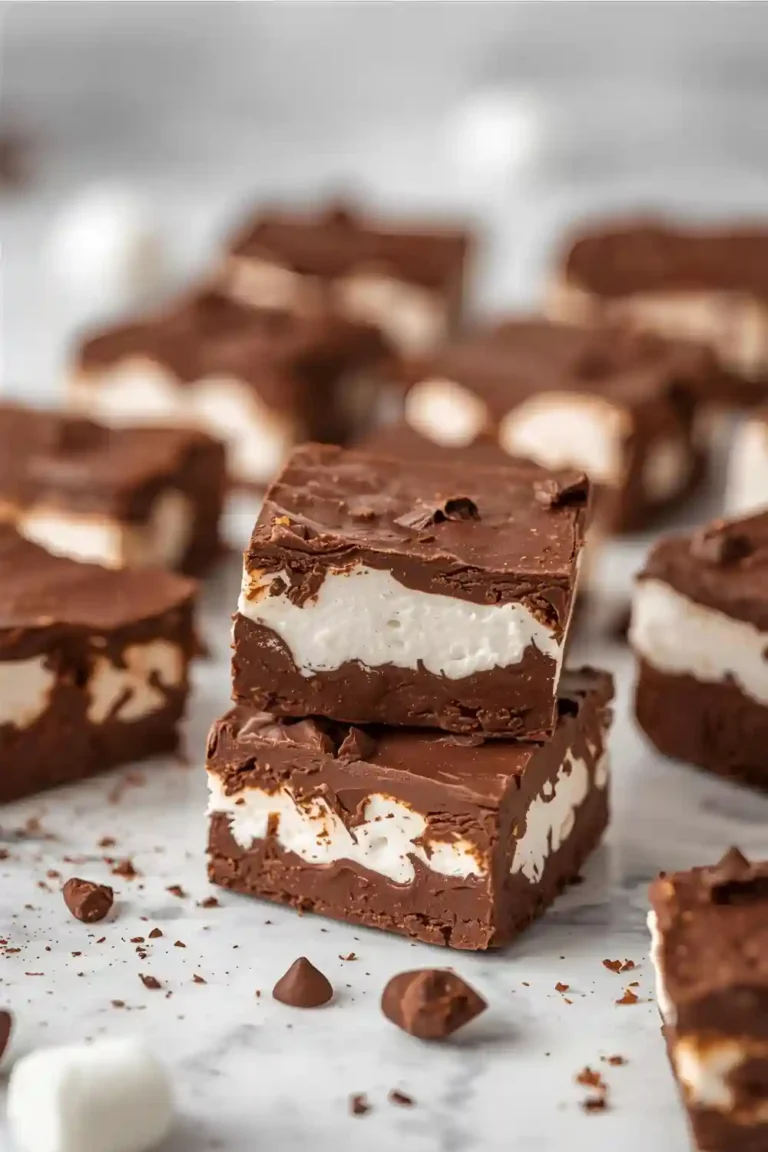
It also works well on dessert boards next to Chocolate Truffles, Chocolate Marshmallow Fudge, Easy Chocolate Dipped Pretzels, and Chocolate Crunch Clusters.
For everyday use, keep a container in the fridge for a small sweet bite after dinner. It is also a good recipe when you need something homemade but do not want to bake.
Step-by-Step Cooking Instructions

1. Prepare the baking sheet
Line a baking sheet with parchment paper. This keeps the chocolate from sticking and makes cleanup easy.
Choose a baking sheet that fits in your refrigerator. If the pan is too large, use a smaller tray or even a flat plate lined with parchment.
2. Chop the nuts and fruit
Roughly chop the nuts so they are easy to bite into. Keep some pieces larger for texture and some smaller so they stick well to the chocolate.
If your dried fruit is large, chop it into small pieces. Cranberries, raisins, cherries, apricots, dates, and dried blueberries all work well.
3. Melt the chocolate gently
Melt the chocolate slowly using a microwave or a double boiler. If using the microwave, heat in short intervals and stir often.
Do not rush this step. Chocolate can scorch if heated too quickly. Once most of the chocolate is melted, keep stirring until smooth and glossy.
4. Spread the chocolate
Pour the melted chocolate onto the parchment-lined baking sheet. Use a spatula to spread it into an even layer.
Do not spread it too thin. Bark that is too thin can break into tiny pieces and may not hold the toppings well. Aim for a medium-thick layer.
5. Add the toppings
Sprinkle the chopped nuts and dried fruit evenly over the melted chocolate. Press them down very gently with clean fingers or the back of a spoon so they stick.
Add flaky salt if using. This small step makes a big difference because it balances the sweetness and brings out the chocolate flavor.
6. Chill until firm
Place the tray in the refrigerator until the chocolate is completely set. This usually takes about 30 to 45 minutes.
The bark should feel firm and snap when broken. If it bends instead of breaking, chill it a little longer.
7. Break into pieces
Lift the chocolate bark off the parchment and break it into uneven pieces with your hands. You can also use a knife if you want cleaner shapes.
Store the pieces in an airtight container so they stay fresh and crisp.
Pro Tips for Best Results
Use good-quality chocolate. Since chocolate is the main ingredient, the flavor matters.
Do not overheat the chocolate. Melt it slowly and stir often for the smoothest texture.
Dry toppings work best. Fresh fruit adds moisture and can make the bark soft or spoil faster.
Press toppings gently into the chocolate. This helps them stay attached after the bark sets.
Add flaky salt lightly. Too much can overpower the sweet fruit and chocolate.
Let the bark fully set before breaking. If it is not firm, the toppings may fall off.
FAQs
Can I make Chocolate Bark with Nuts & Fruit ahead of time?
Yes, chocolate bark is a great make-ahead dessert. You can prepare it several days before serving and store it in an airtight container. For the best texture, keep it in a cool place or refrigerate it until ready to serve.
What fruit is best for chocolate bark?
Dried fruit works best because it does not add moisture. Dried cranberries, cherries, apricots, raisins, blueberries, dates, figs, and orange peel are all good choices. Avoid fresh fruit because it can make the bark wet and shorten storage time.
What nuts go well with chocolate bark?
Almonds, pistachios, walnuts, pecans, cashews, peanuts, and hazelnuts all work well. Toasted nuts give the best flavor because toasting makes them crunchier and brings out their natural nuttiness.
Why is my chocolate bark soft?
Chocolate bark can turn soft if the chocolate was overheated, spread too thin, or stored in a warm room. Chill it until firm and keep it in the refrigerator if your kitchen is warm. Using good-quality chocolate also helps the bark set better.
Can I use chocolate chips for chocolate bark?
Yes, chocolate chips work for bark, especially if you want an easy pantry recipe. For the smoothest finish and best snap, chopped baking chocolate or chocolate bars usually melt better than chips.
More recipes:-
- Creamiest Rice Pudding Recipe (Old-Fashioned & Cozy)
- Butter Pecan Ice Cream Recipe (Rich, Creamy & No-Churn Option!)
- Nutella Brownies
Chocolate Bark with Nuts & Fruit
Ingredients
Method
- Line a baking sheet with parchment paper.
- Add the chopped chocolate to a microwave-safe bowl.
- Microwave in 20-second intervals, stirring between each, until smooth and melted.
- Pour the melted chocolate onto the prepared baking sheet.
- Spread into an even layer with a spatula.
- Sprinkle the almonds, pistachios, dried cranberries, dried apricots, and dried cherries over the chocolate.
- Gently press the toppings into the chocolate so they stick.
- Sprinkle lightly with flaky sea salt if using.
- Refrigerate for 30 to 45 minutes, or until fully firm.
- Break into pieces and serve.
Notes
- Use dried fruit only. Fresh fruit adds too much moisture.
- Toast the nuts before adding them for deeper flavor.
- Store in an airtight container in the refrigerator for up to 3 weeks.
- Use dark, milk, or white chocolate depending on your preferred sweetness.
- Place parchment paper between layers if stacking pieces.
- Calories: 185
- Protein: 4g
- Fat: 12g
- Carbs: 18g